

Copy the installation media locally and launch the sequencer with the EnablePVADControl parameter

Load a sequencing template if you have one – here’s a copy of the one I use
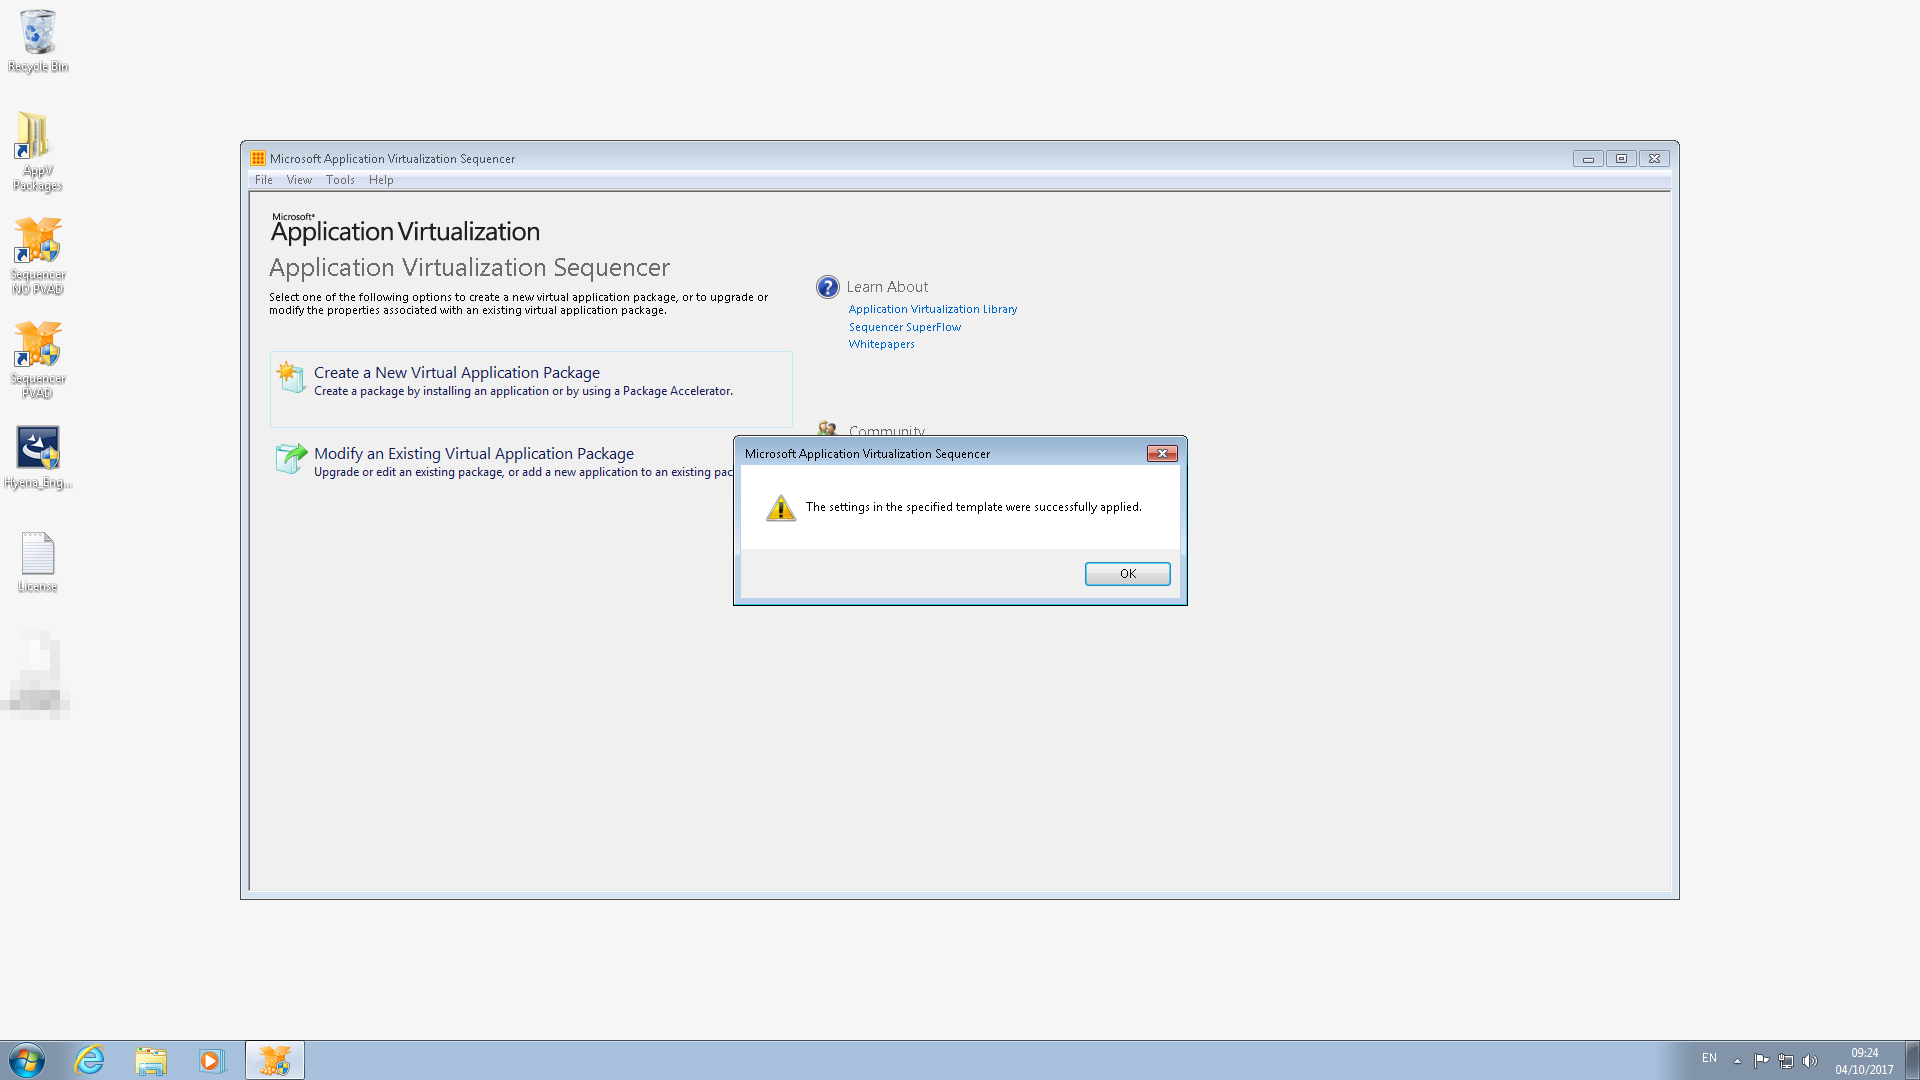
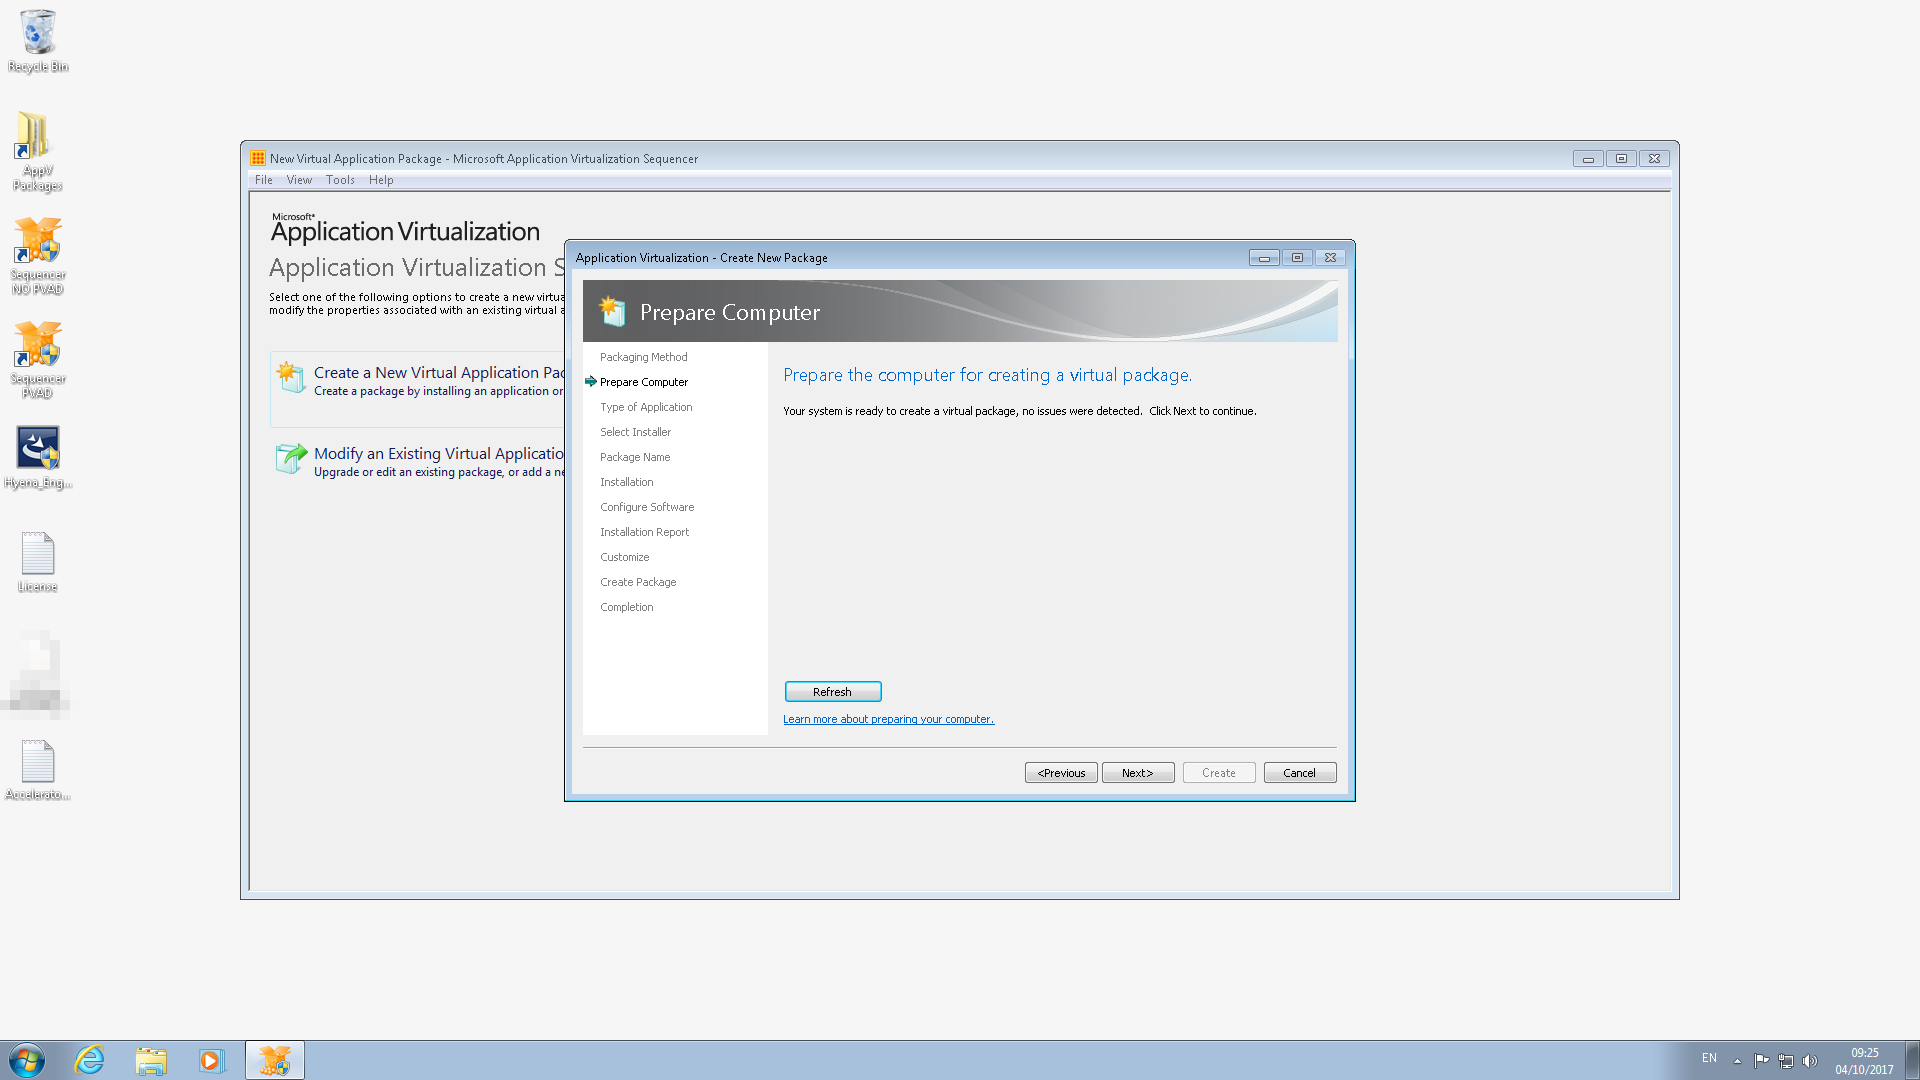
Ensure sequencer is clean and ready i.e. no restarts pending/previous packages captured etc.
Select the installer

Enter name and PVAD – C:\System-Tools_Hyena_12.5.0_001A
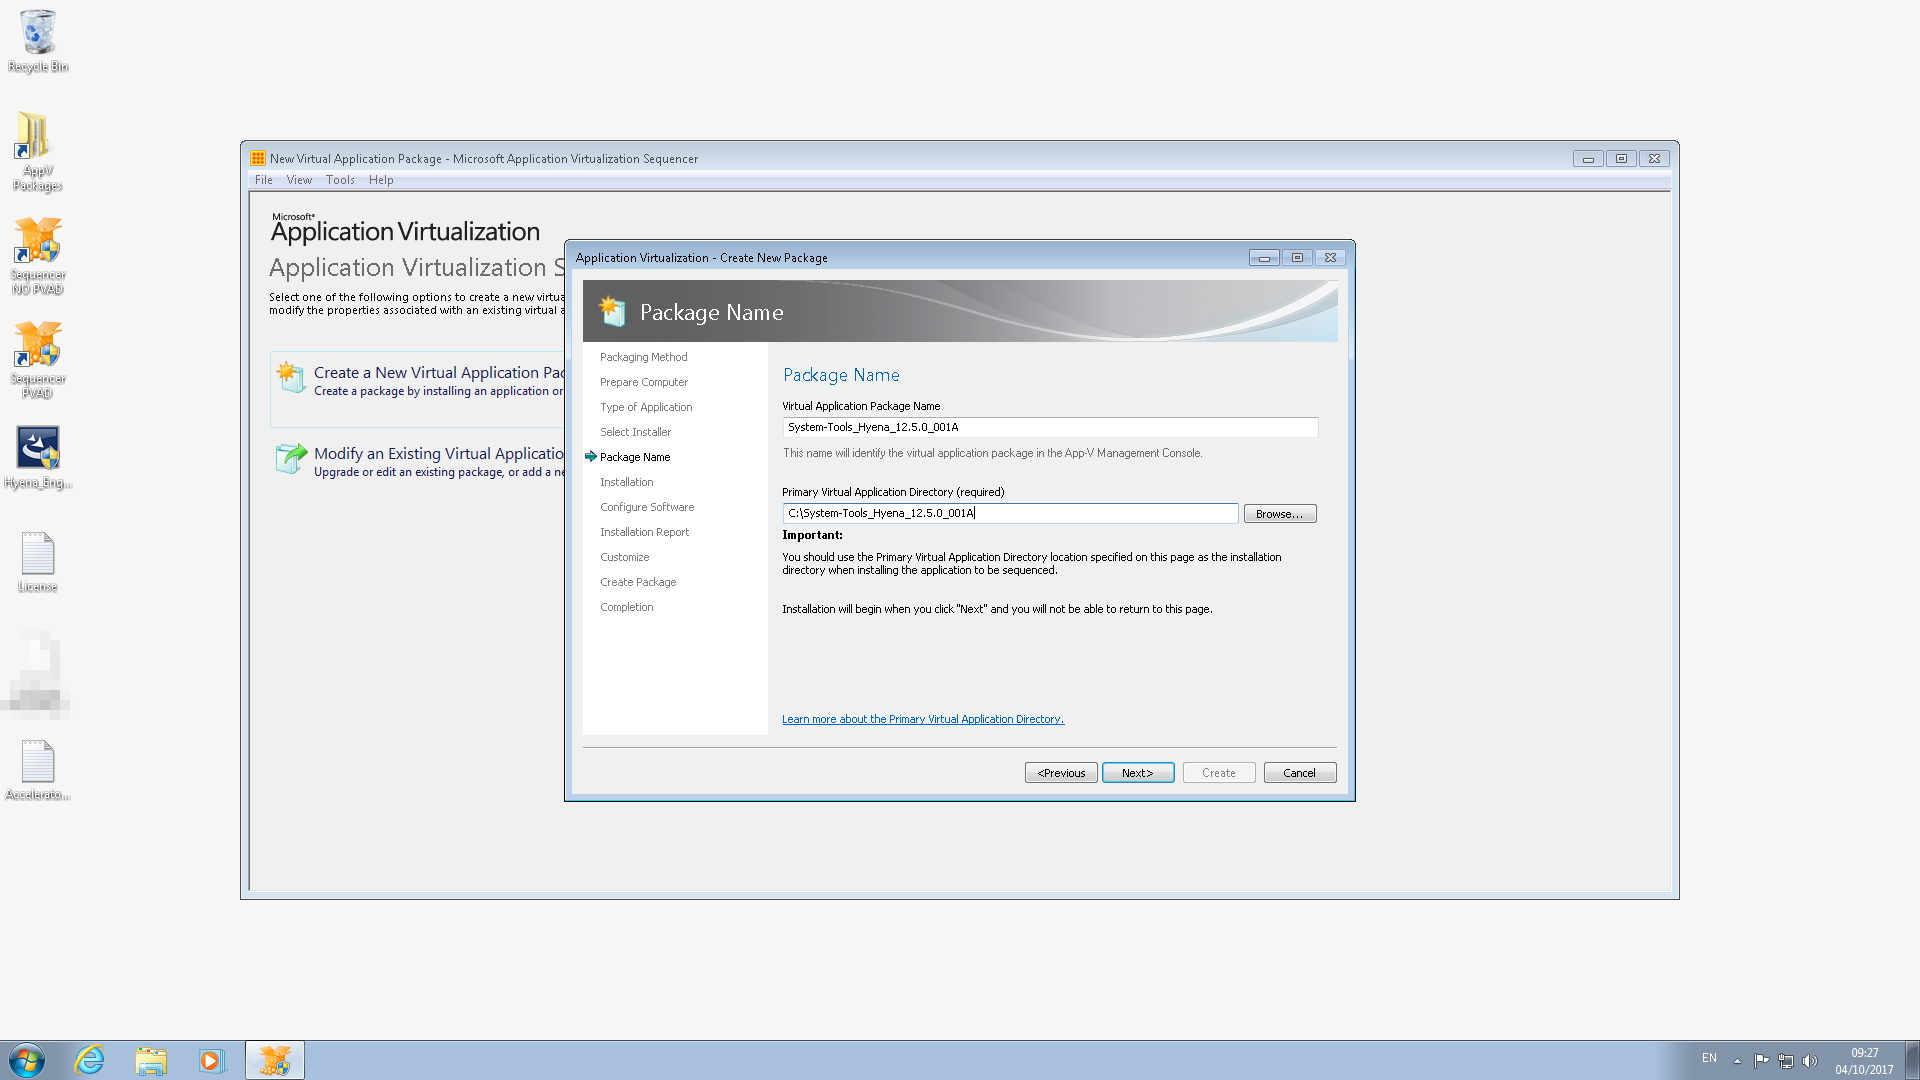
Click Next
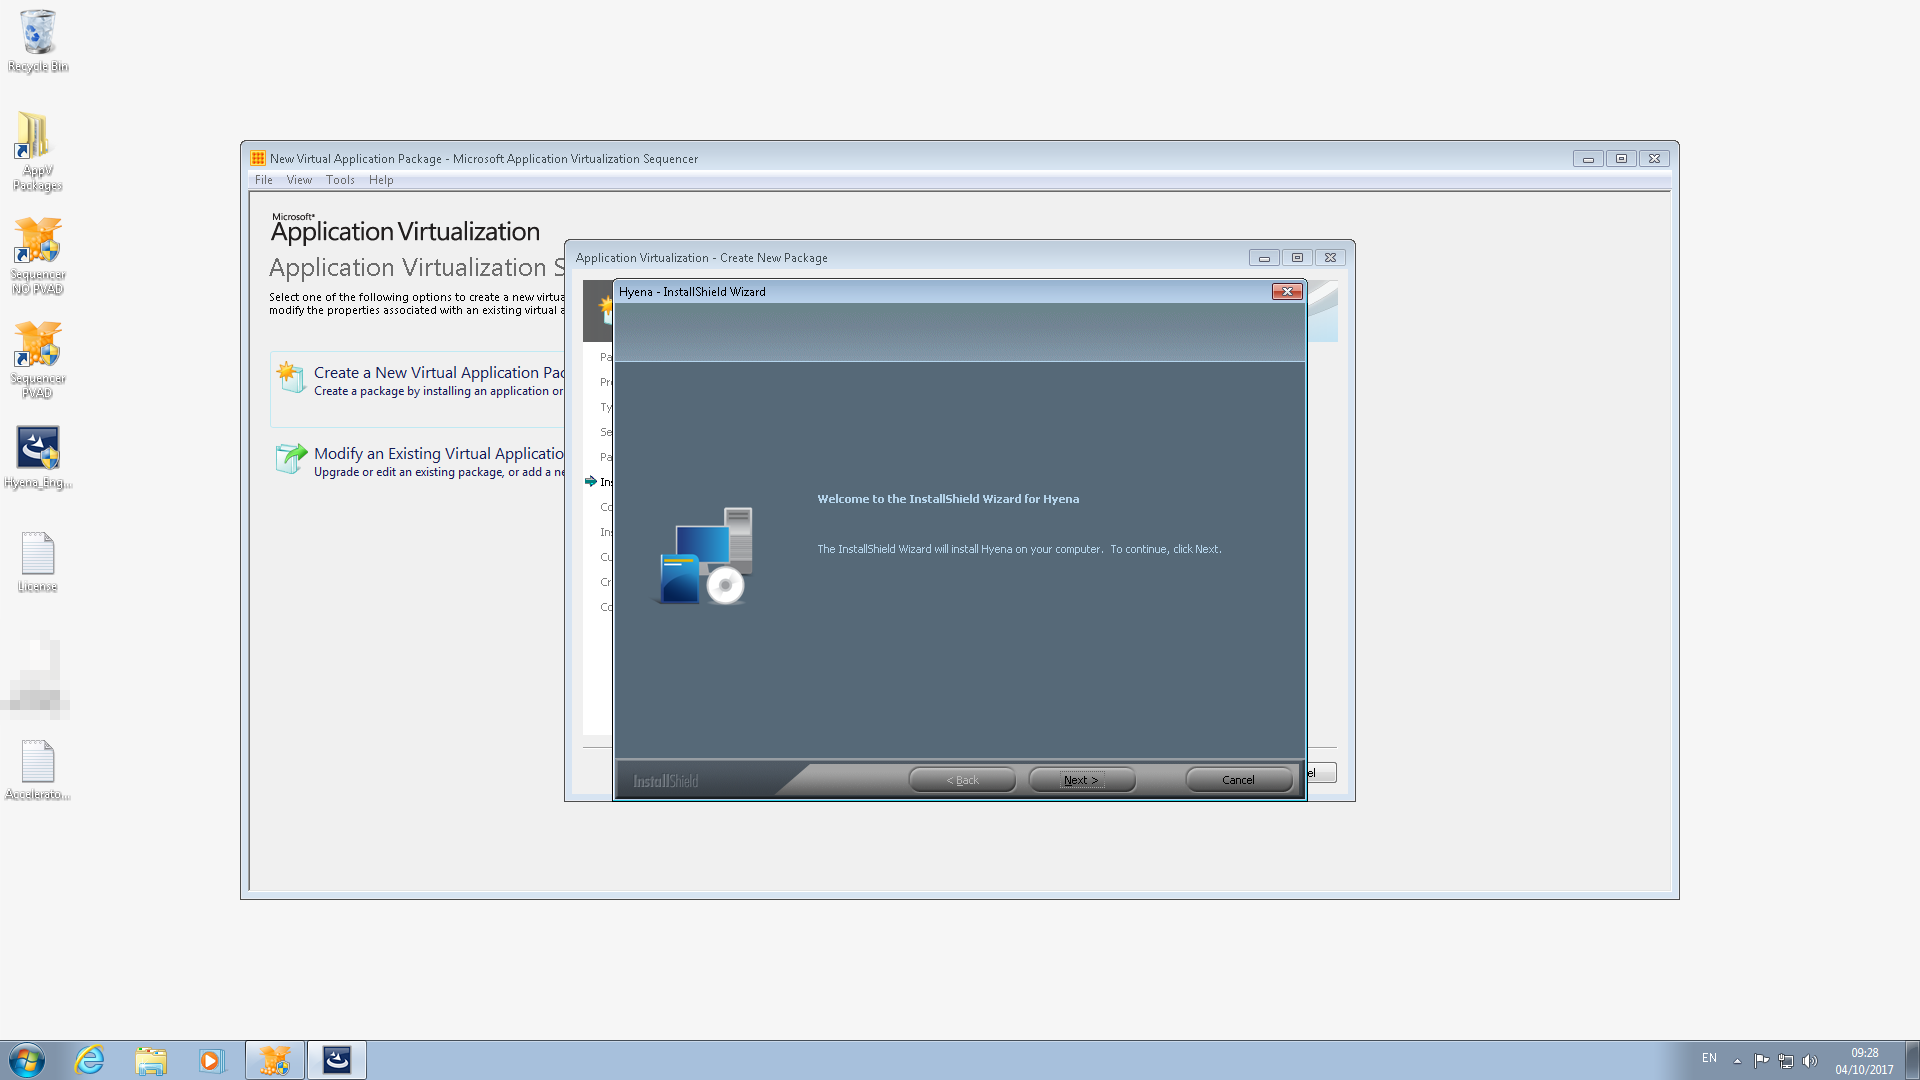
Enter the installation directory C:\System-Tools_Hyena_12.5.0_001A

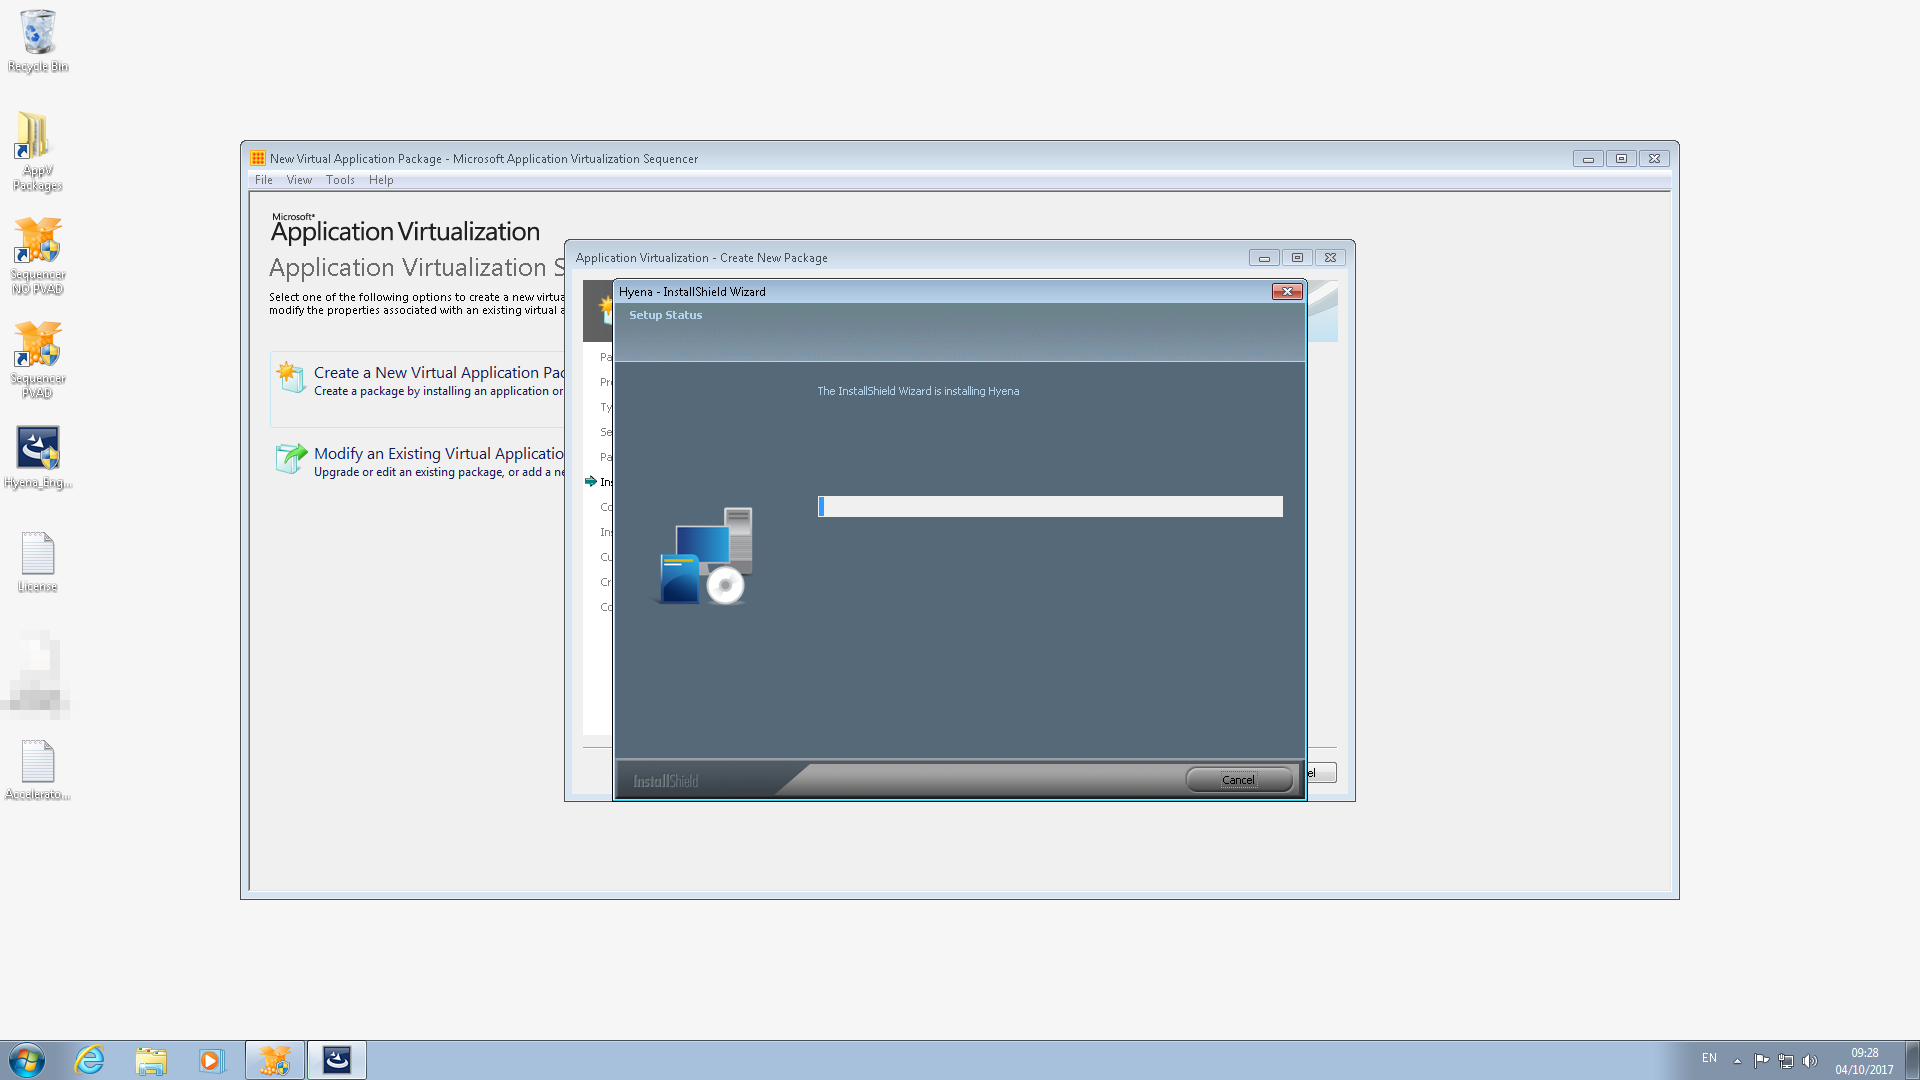
Allow time for installation to complete
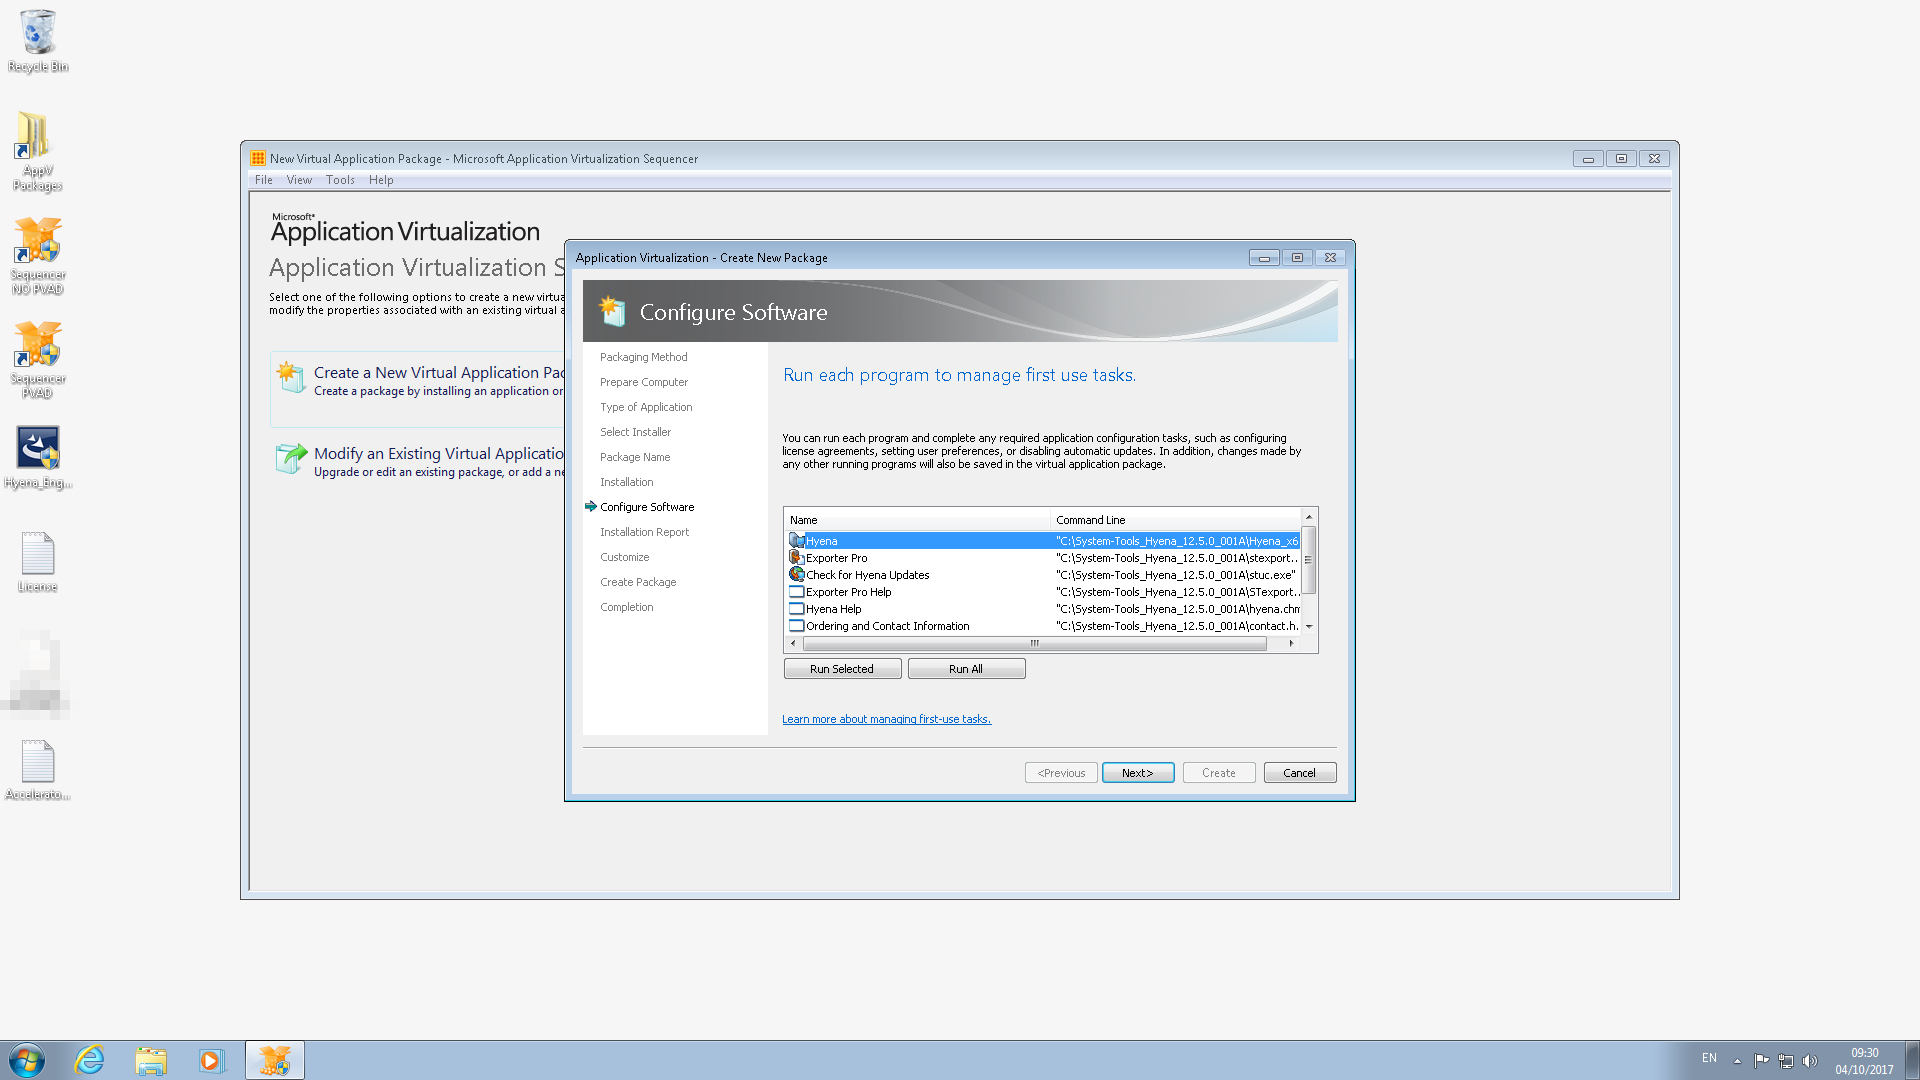
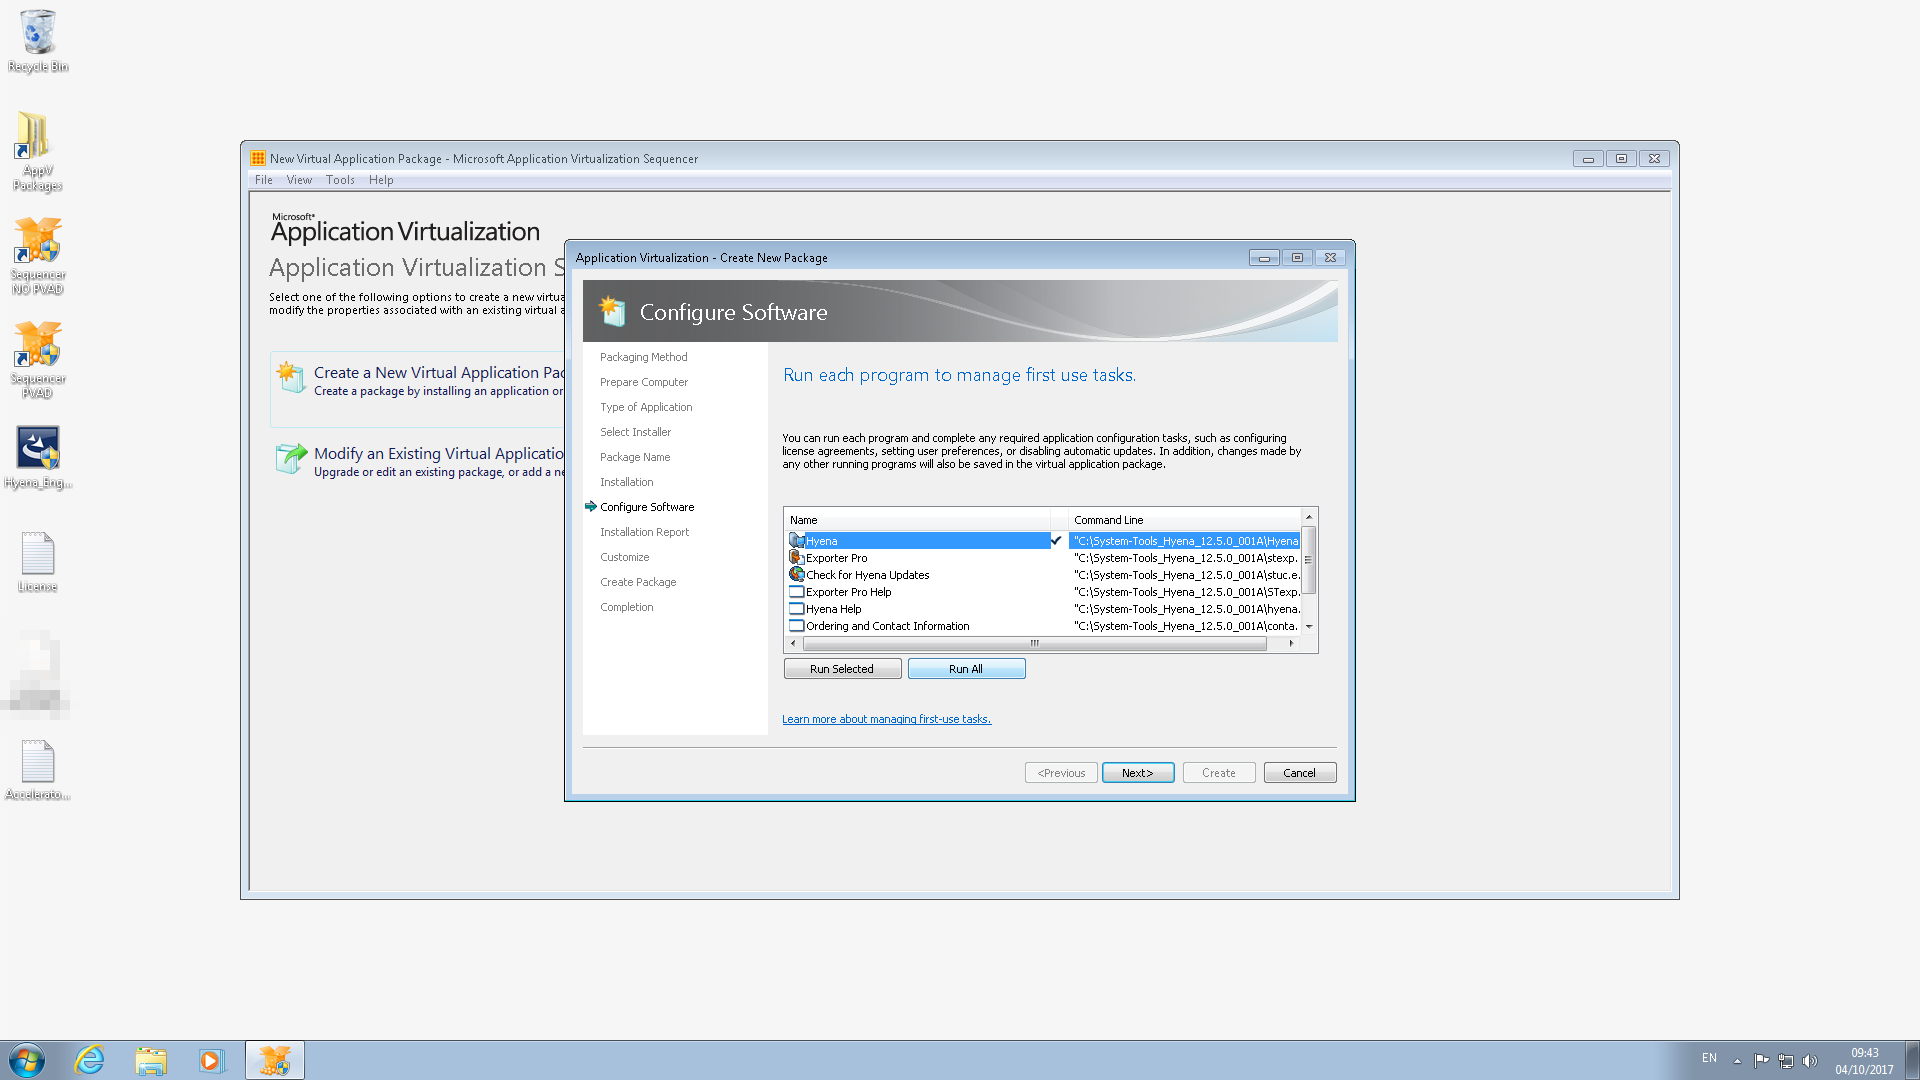
Tick the checkbox and click Next

Run Hyena
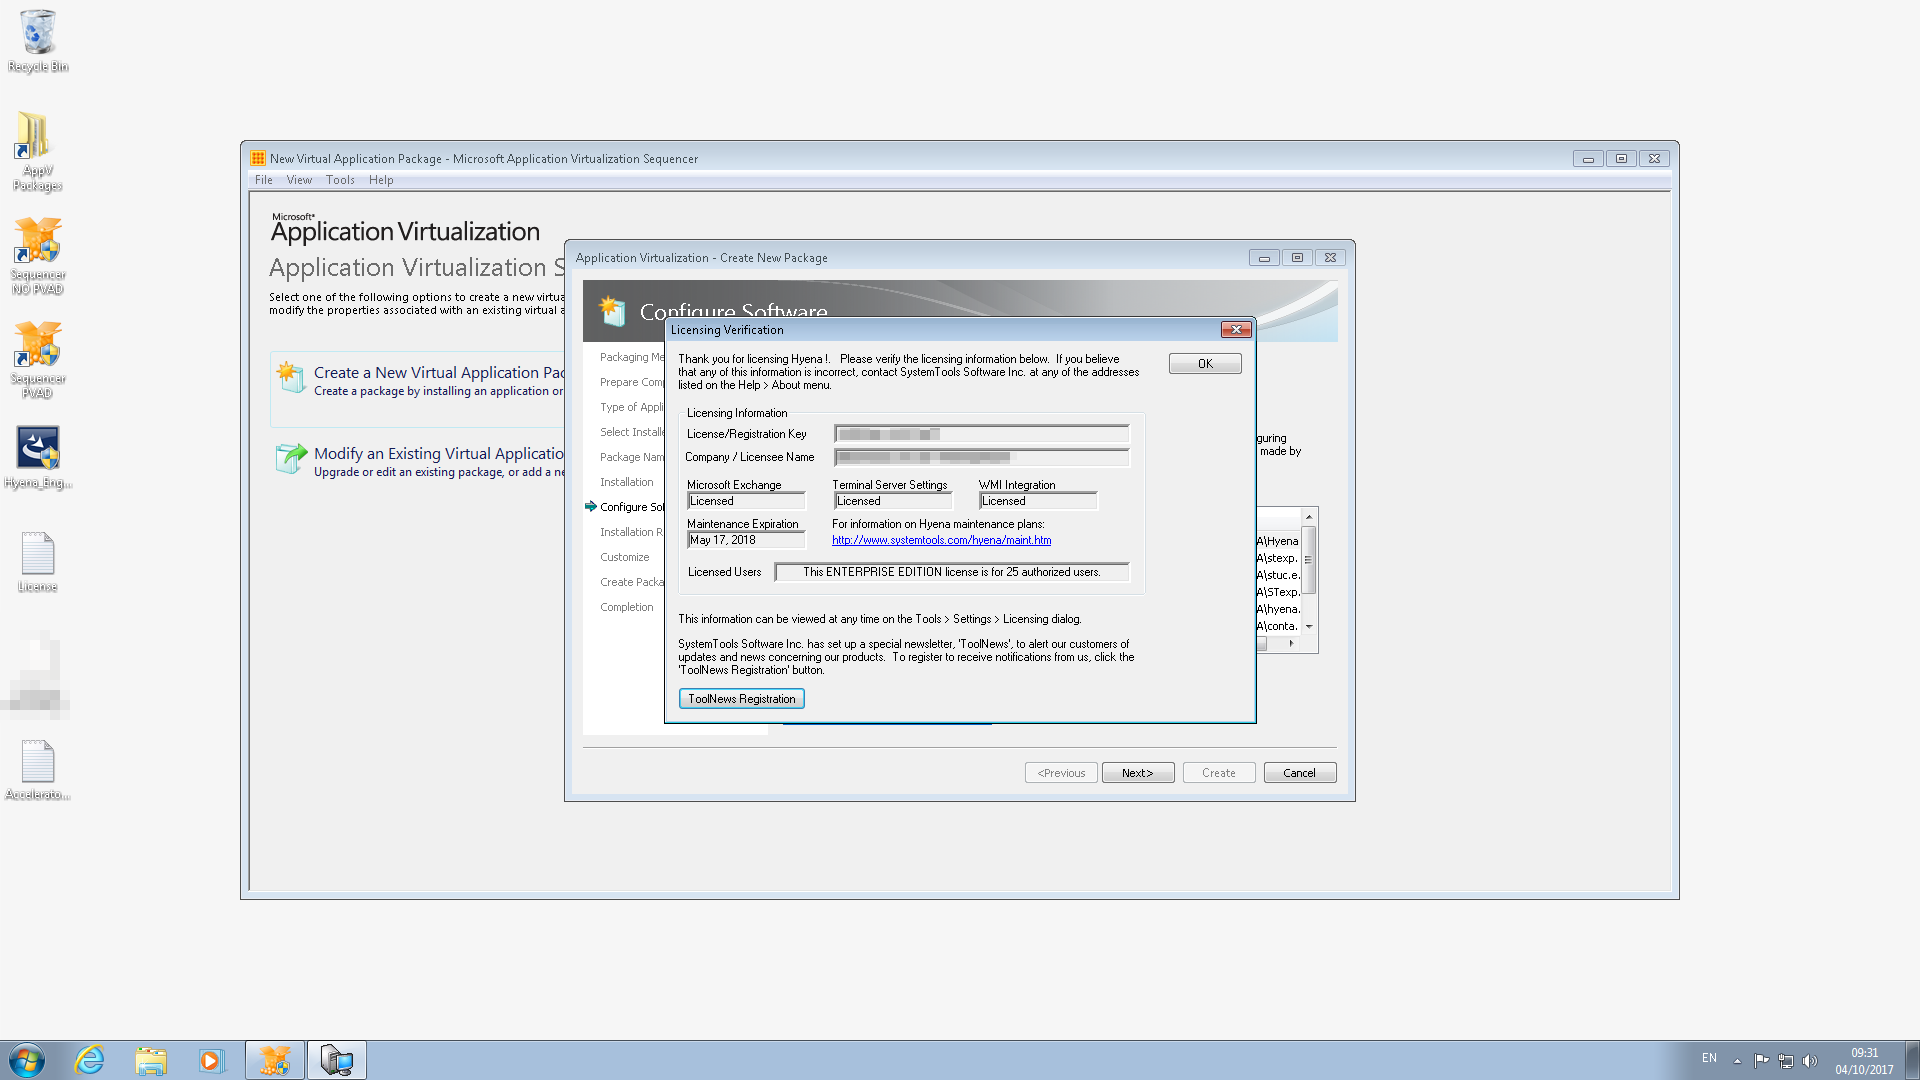
Enter the registration info

Click OK
Open RegEdit – Browse to HKCU\Software\Adkins Resource\Hyena\Win32 and set AskForNewsletterSignup to 1
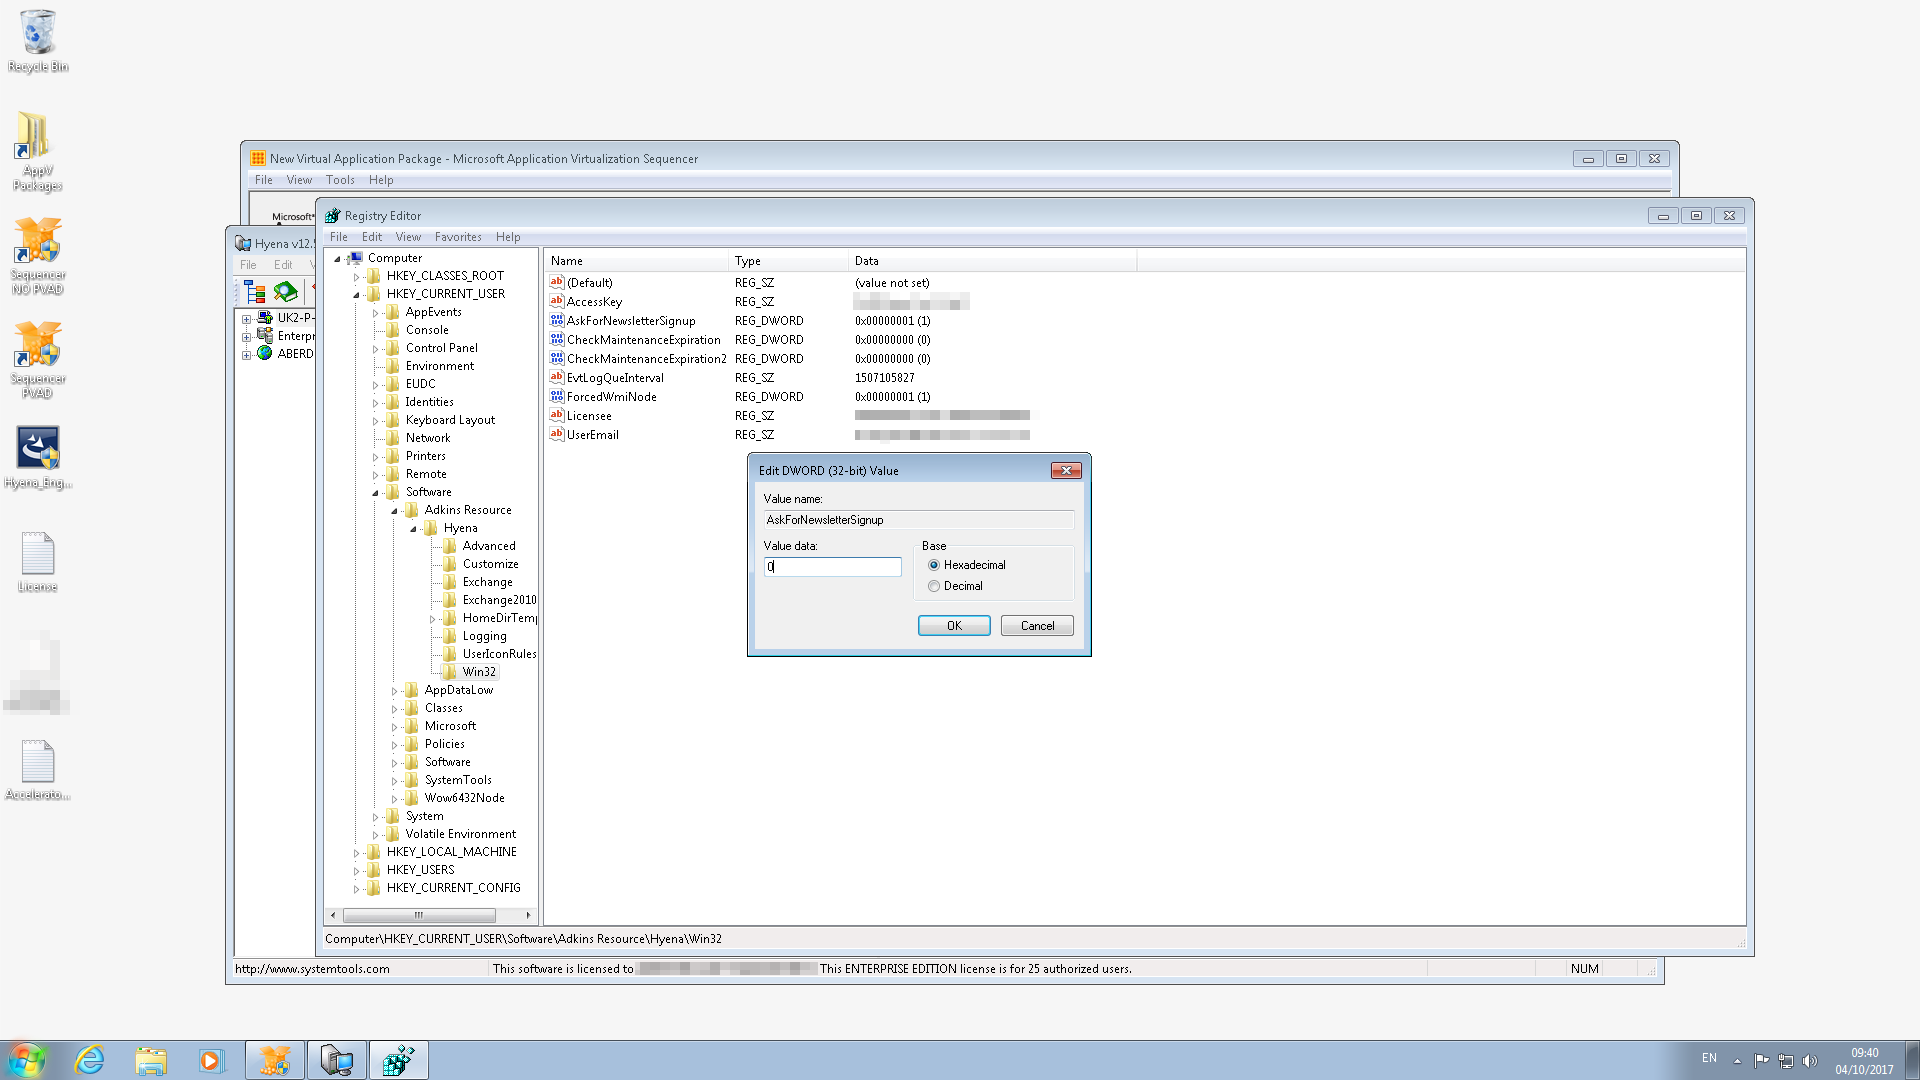
Create a key under HKCU\Software\Adkins Resource\Hyena\Advanced called DisableUpdateChecker and set to 1

Click Next
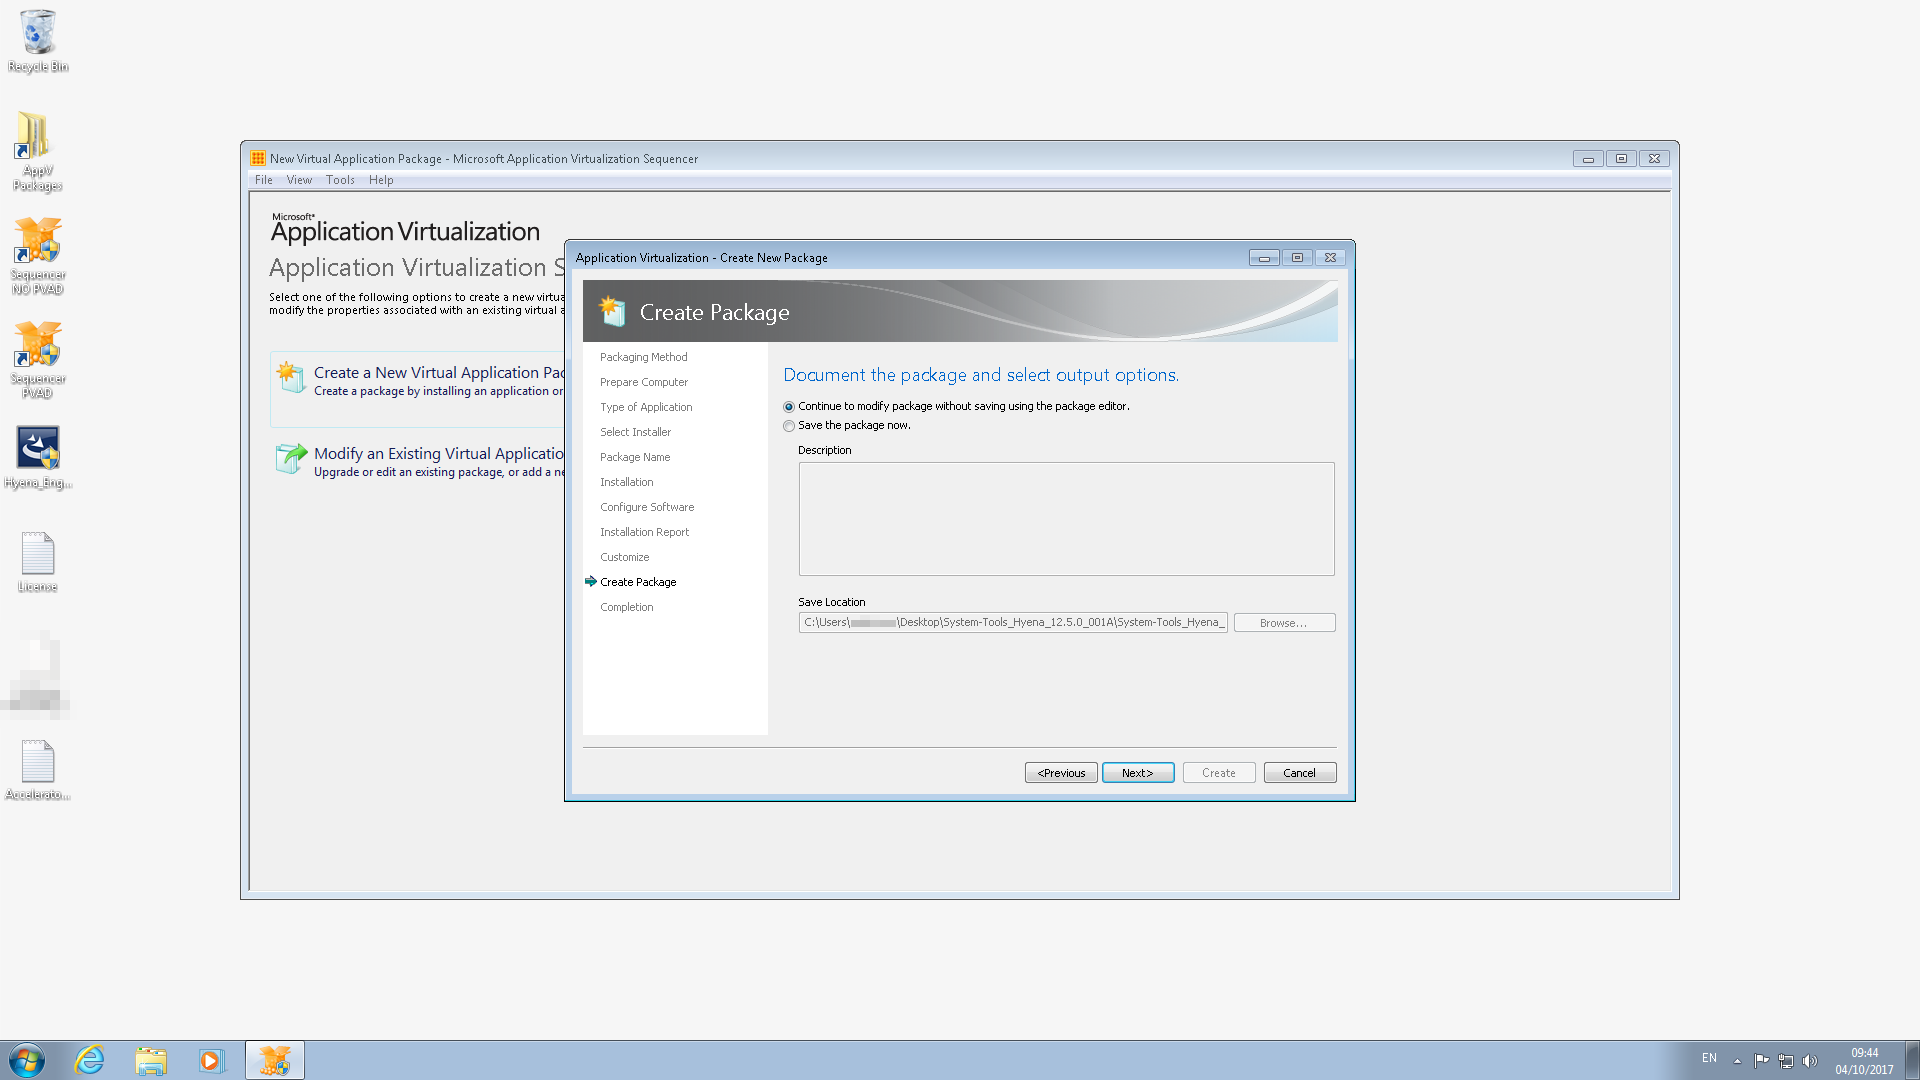
Continue to modify package if you want to clean up further or modify shortcuts etc otherwise save the package
Microsoft App-V 5 Sequencing Template
When sequencing an application it’s handy to have a template with some common file and registry exclusions to save on the cleanup work afterwards.
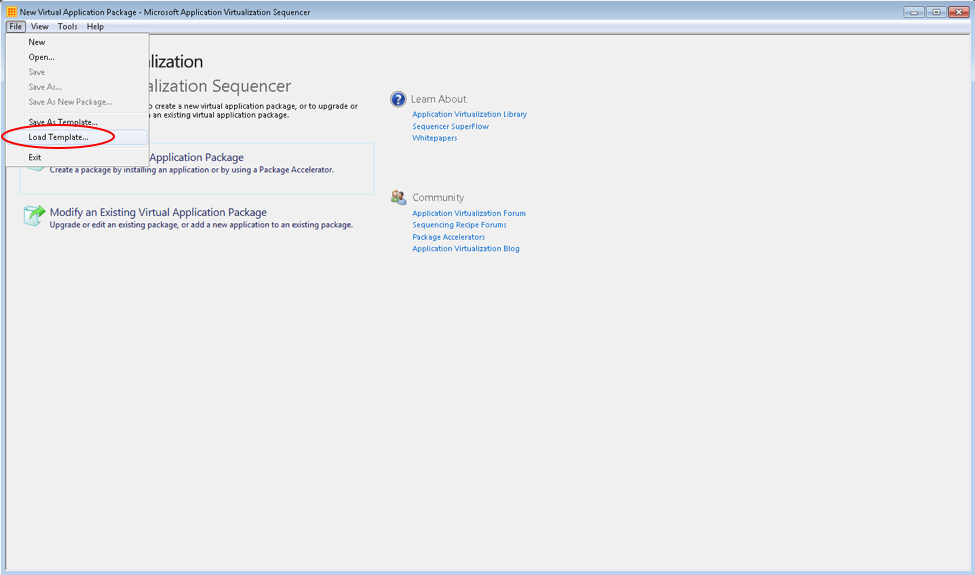
Copy the xml content below into a text file and save with a .appvt extension. Load this template into the App-V Sequencer before packaging an application.
To load this template launch the Sequencer and select File > Load Template.
Template Code
<?xml version="1.0" encoding="utf-8"?>

<SequencerTemplate xmlns:xsd="http://www.w3.org/2001/XMLSchema" xmlns:xsi="http://www.w3.org/2001/XMLSchema-instance">

<AllowMU>false</AllowMU>

<AppendPackageVersionToFilename>true</AppendPackageVersionToFilename>

<AllowLocalInteractionToCom>false</AllowLocalInteractionToCom>

<AllowLocalInteractionToObject>false</AllowLocalInteractionToObject>

<FullVFSWriteMode>false</FullVFSWriteMode>

<ExcludePreExistingSxSAndVC>false</ExcludePreExistingSxSAndVC>

<FileExclusions>

<string>[{CryptoKeys}]</string>

<string>[{Common AppData}]\Microsoft\Crypto</string>

<string>[{Common AppData}]\Microsoft\Search\Data</string>

<string>[{Cookies}]</string>

<string>[{History}]</string>

<string>[{Cache}]</string>

<string>[{Local AppData}]</string>

<string>[{LocalAppDataLow}]</string>

<string>[{Personal}]</string>

<string>[{Profile}]\Local Settings</string>

<string>[{Profile}]\NTUSER.DAT.LOG1</string>

<string>[{Profile}]\NTUSER.DAT.LOG2</string>

<string>[{Recent}]</string>

<string>[{Windows}]\Debug</string>

<string>[{Windows}]\Logs\CBS</string>

<string>[{Windows}]\Temp</string>

<string>[{Windows}]\WinSxS\ManifestCache</string>

<string>[{Windows}]\WindowsUpdate.log</string>

<string>[{AppVPackageDrive}]\$Recycle.Bin</string>

<string>[{AppVPackageDrive}]\System Volume Information</string>

<string>[{AppData}]\Microsoft\AppV</string>

<string>[{Local AppData}]\Temp</string>

<string>[{ProgramFilesX64}]\Microsoft Application Virtualization\Sequencer</string>

<string>REGISTRY\USER\Software\Microsoft\EventSystem</string>

<string>[{Windows}]\CSC</string>

<string>[{Windows}]\Prefetch</string>

<string>[{Windows}]\repair</string>

<string>[{System}]\appmgmt</string>

<string>[{AppVSystem32Catroot}]</string>

<string>[{System}]\CCM</string>

<string>[{System}]\config</string>

<string>[{System}]\dllcache</string>

<string>[{System}]\wbem</string>

<string>[{Windows}]\Tasks</string>

</FileExclusions>

<RegExclusions>

<string>REGISTRY\MACHINE\SOFTWARE\Wow6432Node\Microsoft\Cryptography</string>

<string>REGISTRY\MACHINE\SOFTWARE\Microsoft\Cryptography</string>

<string>REGISTRY\USER\[{AppVCurrentUserSID}]\Software\Microsoft\Windows\CurrentVersion\Explorer\StreamMRU</string>

<string>REGISTRY\USER\[{AppVCurrentUserSID}]\Software\Wow6432Node\Microsoft\Windows\CurrentVersion\Explorer\StreamMRU</string>

<string>REGISTRY\USER\[{AppVCurrentUserSID}]\Software\Microsoft\Windows\CurrentVersion\Explorer\Streams</string>

<string>REGISTRY\USER\[{AppVCurrentUserSID}]\Software\Wow6432Node\Microsoft\Windows\CurrentVersion\Explorer\Streams</string>

<string>REGISTRY\MACHINE\SOFTWARE\Microsoft\AppV</string>

<string>REGISTRY\MACHINE\SOFTWARE\Wow6432Node\Microsoft\AppV</string>

<string>REGISTRY\USER\[{AppVCurrentUserSID}]\Software\Microsoft\AppV</string>

<string>REGISTRY\USER\[{AppVCurrentUserSID}]\Software\Wow6432Node\Microsoft\AppV</string>

<string>REGISTRY\USER\Software\Microsoft\SystemCertificates</string>

<string>REGISTRY\USER\SOFTWARE\Microsoft\Tracing</string>

<string>REGISTRY\USER\Software\Microsoft\Windows\CurrentVersion\Internet Settings</string>

<string>REGISTRY\USER\Software\Microsoft\Windows\CurrentVersion\Run</string>

<string>REGISTRY\USER\Software\Microsoft\Windows\CurrentVersion\Runonce</string>

<string>REGISTRY\USER\Software\Microsoft\Windows\CurrentVersion\Uninstall</string>

<string>REGISTRY\USER\SOFTWARE\Policies</string>

<string>REGISTRY\MACHINE\Hardware</string>

<string>REGISTRY\MACHINE\SAM</string>

<string>REGISTRY\MACHINE\Security</string>

<string>REGISTRY\MACHINE\Software\Microsoft\EventSystem</string>

<string>REGISTRY\MACHINE\SOFTWARE\Microsoft\Rpc</string>

<string>REGISTRY\MACHINE\Software\Microsoft\SystemCertificates</string>

<string>REGISTRY\MACHINE\SOFTWARE\Microsoft\Tracing</string>

<string>REGISTRY\MACHINE\SOFTWARE\Microsoft\WBEM</string>

<string>REGISTRY\MACHINE\Software\Microsoft\Windows\CurrentVersion\Internet Settings</string>

<string>REGISTRY\MACHINE\Software\Microsoft\Windows\CurrentVersion\Run</string>

<string>REGISTRY\MACHINE\Software\Microsoft\Windows\CurrentVersion\Runonce</string>

<string>REGISTRY\MACHINE\Software\Microsoft\Windows\CurrentVersion\Uninstall</string>

<string>REGISTRY\MACHINE\SOFTWARE\Policies</string>

<string>REGISTRY\MACHINE\System\CurrentControlSet\Control\TimeZoneInformation</string>

<string>REGISTRY\MACHINE\System\CurrentControlSet\Services\DHCP</string>

<string>REGISTRY\MACHINE\System\CurrentControlSet\Services\Eventlog</string>

</RegExclusions>

<TargetOSes />

</SequencerTemplate>
Clearing Hung/Disconnected Sessions Without Rebooting Windows Server 2012 R2
For this situation the setup consisted of four Windows Server 2012 R2 servers running Citrix XenApp 7.15. They host a desktop as well as several published applications.
Recently I had multiple users with disconnected sessions that just would not log off. I suspect the server was running into resourcing issues as there was a high number of sessions on there previously. As a result, these hung sessions meant that they could no longer launch the hosted shred desktop or any of the published applications. The usual course of action in this case is to reboot the server when appropriate however these users needed access sooner rather than later and I couldn’t reboot whilst other users are logged on to those same production servers.
I worked out a way around this and documented the steps below.
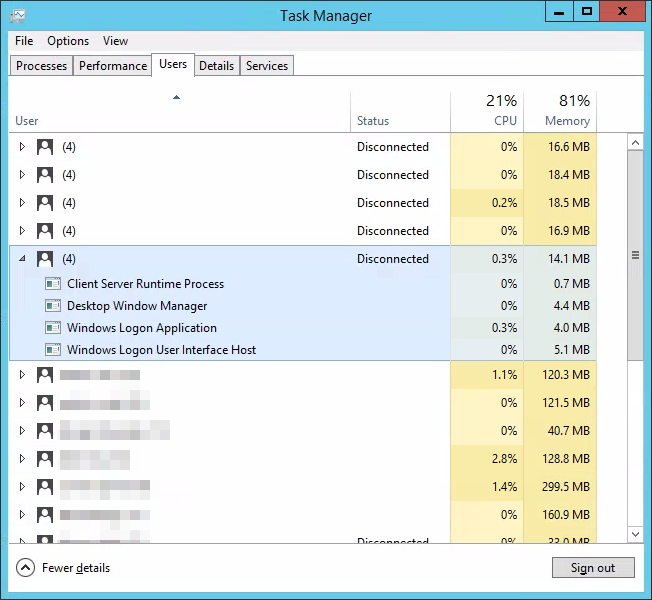
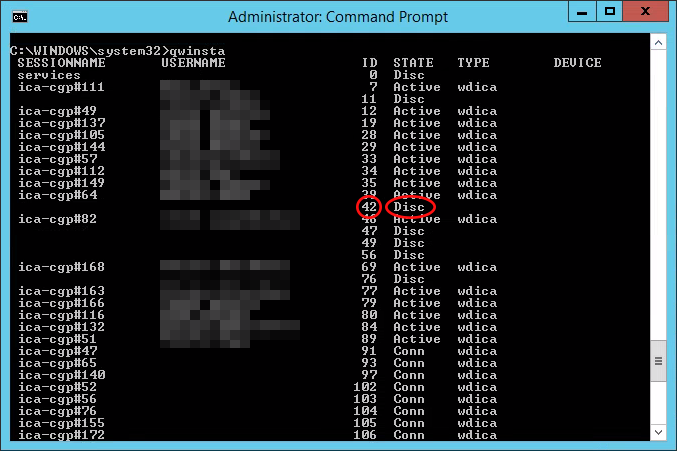
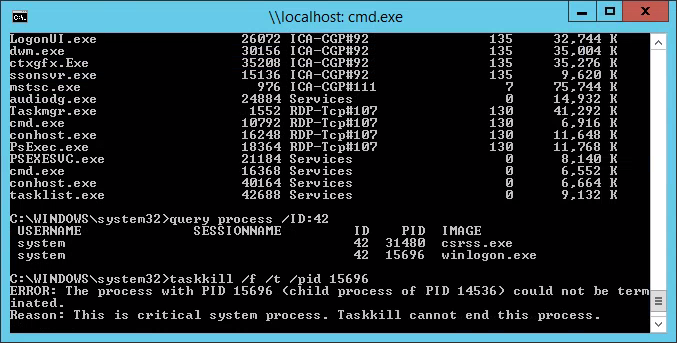
These are the offending sessions (below). The same processes hung within each one. Winlogon.exe appears to be the culprit. Attempting to end these via task manager doesn’t work and with taskkill results in – This is critical system process. Taskkill cannot end this process.
Log on to the affected XenApp server and run qwinsta from an elevated command prompt to find the session ID of the disconnected sessions (disc state). Note no username against the session.
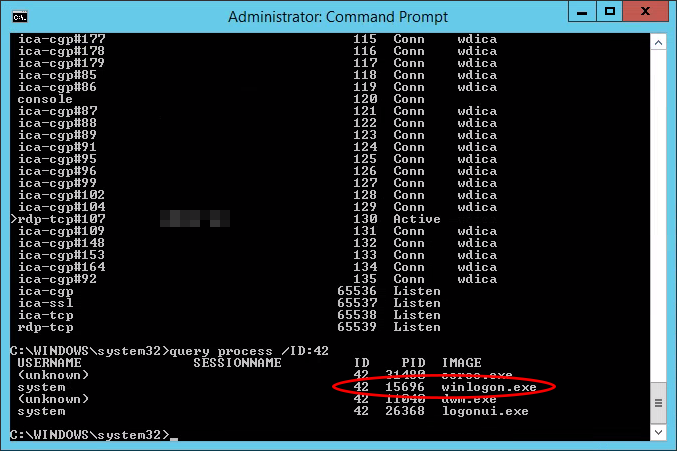
Run query process /ID:[session_id] to get the PID of the hung winlogon.exe process within that session.
At this point I tried taskkill /f /t however this didn’t work.
Switching to powershell and using kill –id [PID] does the job effectively.
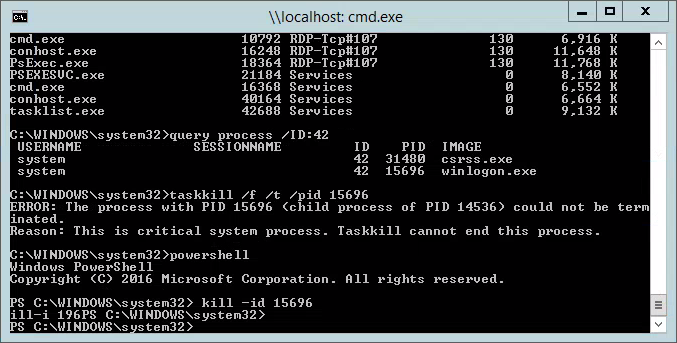
You can see that there are no longer any process running within that session.

I did this for all disconnected sessions.
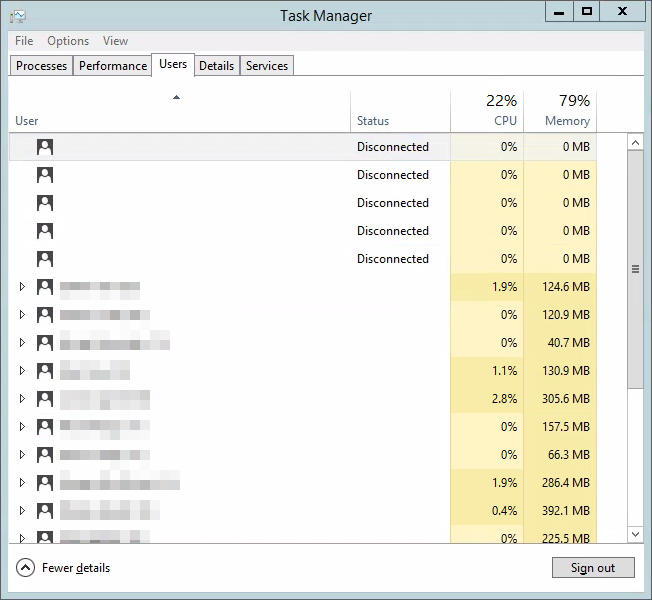
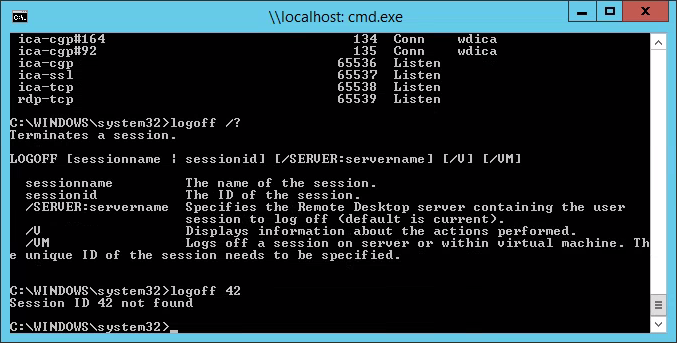
I attempted a logoff however the sessions no longer exist, the entries in task manager must just be blank placeholders for the old sessions.
I closed and reopened task manager to confirm and sure enough the sessions disappeared.

I checked in with the users and there were able to launch published applications successfully again.
Hopefully someone finds this useful. Any comments welcome.
Ant
Office 365 – Shared Company Folder
I’ve been involved in a few migrations now where businesses move from an on-prem solution such as SBS 2011 to Office 365. The migration is fairly painless depending on the route you choose to take however one of the biggest pains seems to be creating an online shared directory to replace traditional network file shares.
As of now I believe the way you’re supposed to do this is by creating a site within SharePoint and then syncing the documents folder of that site with each user that requires access using OneDrive. I have documented the steps below. If there is a better way of doing this then please share!
- Log into Office 365
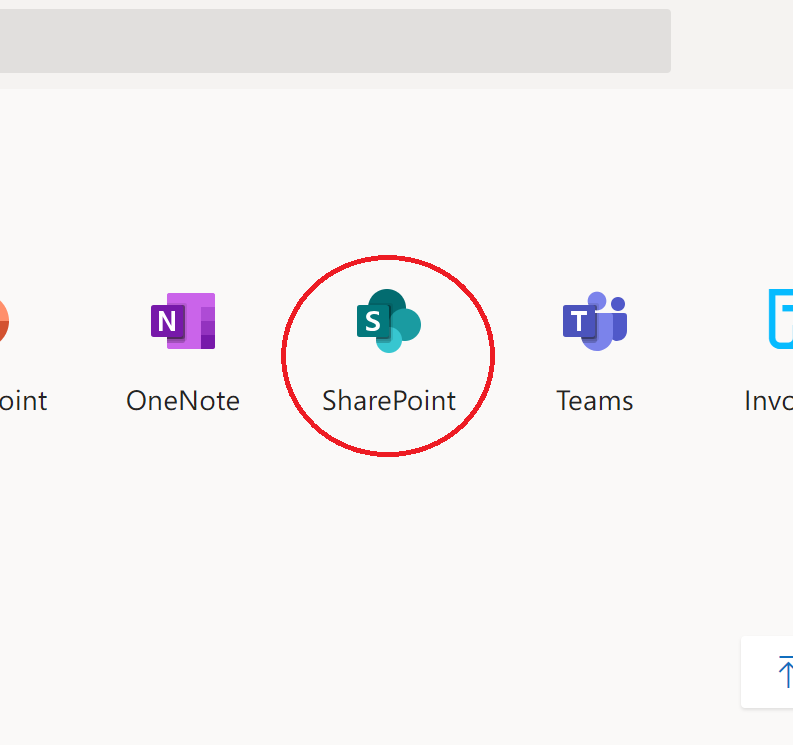
- Click SharePoint
- Click Create Site
- Select Team Site
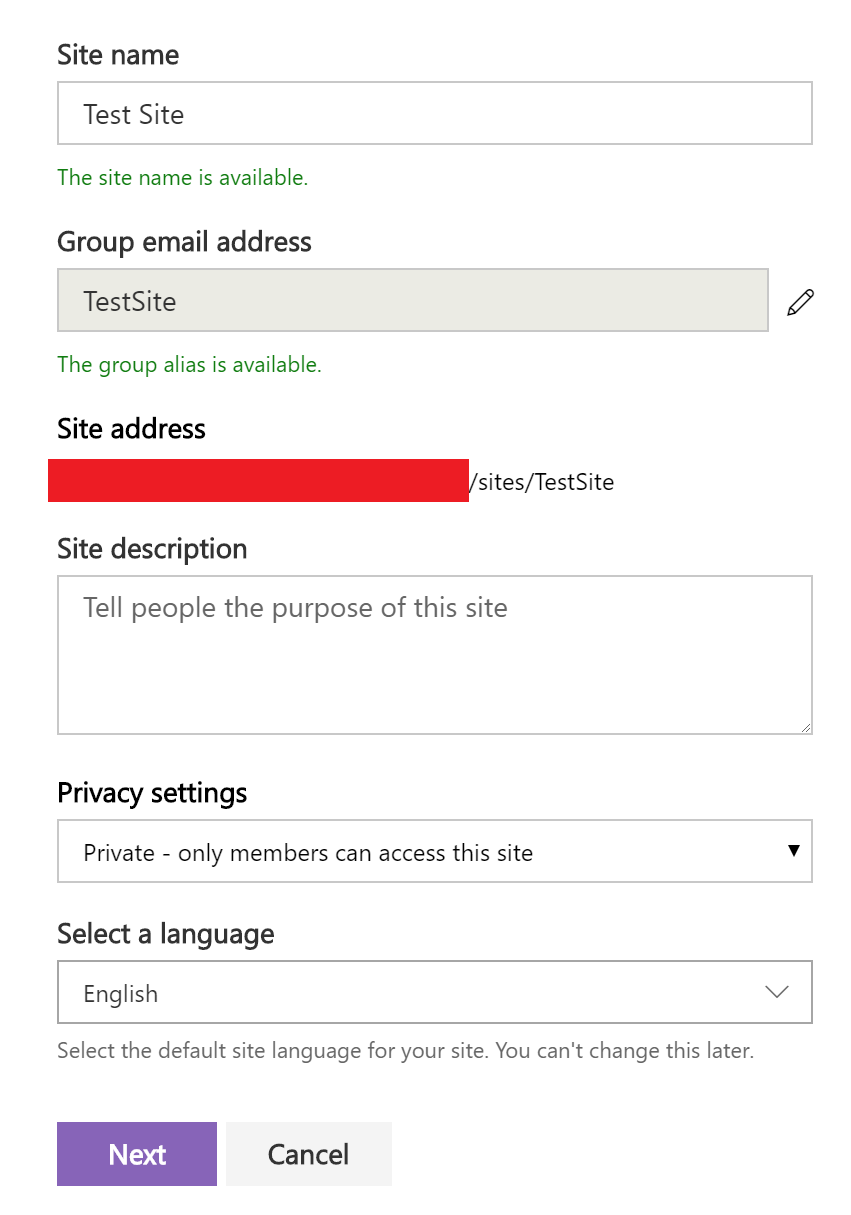
- Enter a site name
- Leave the rest of the settings
- Click Next
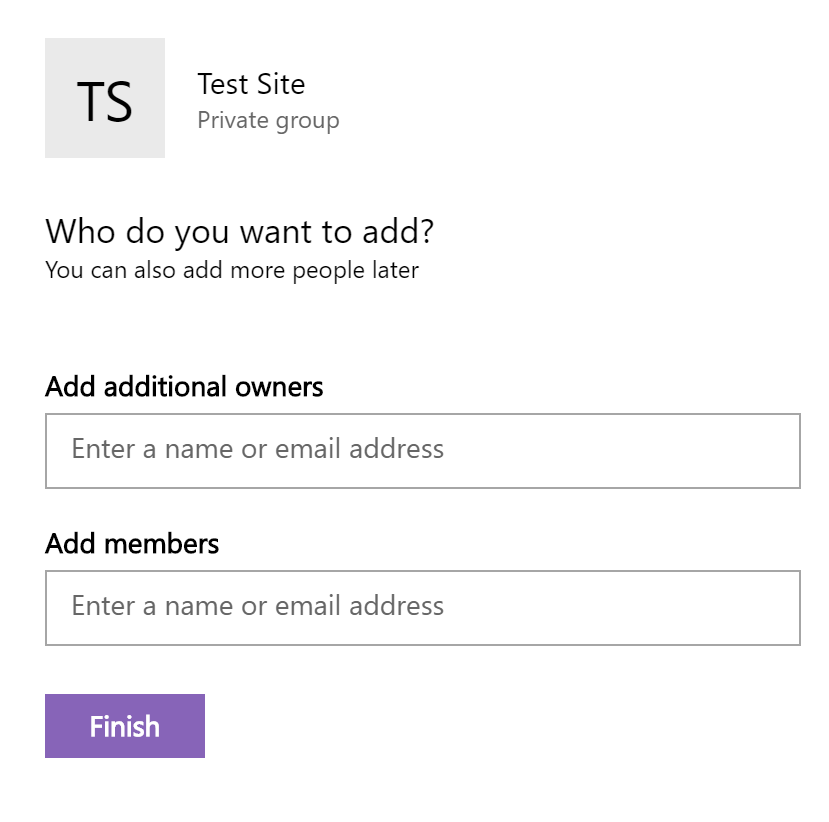
- Add owners/members if required
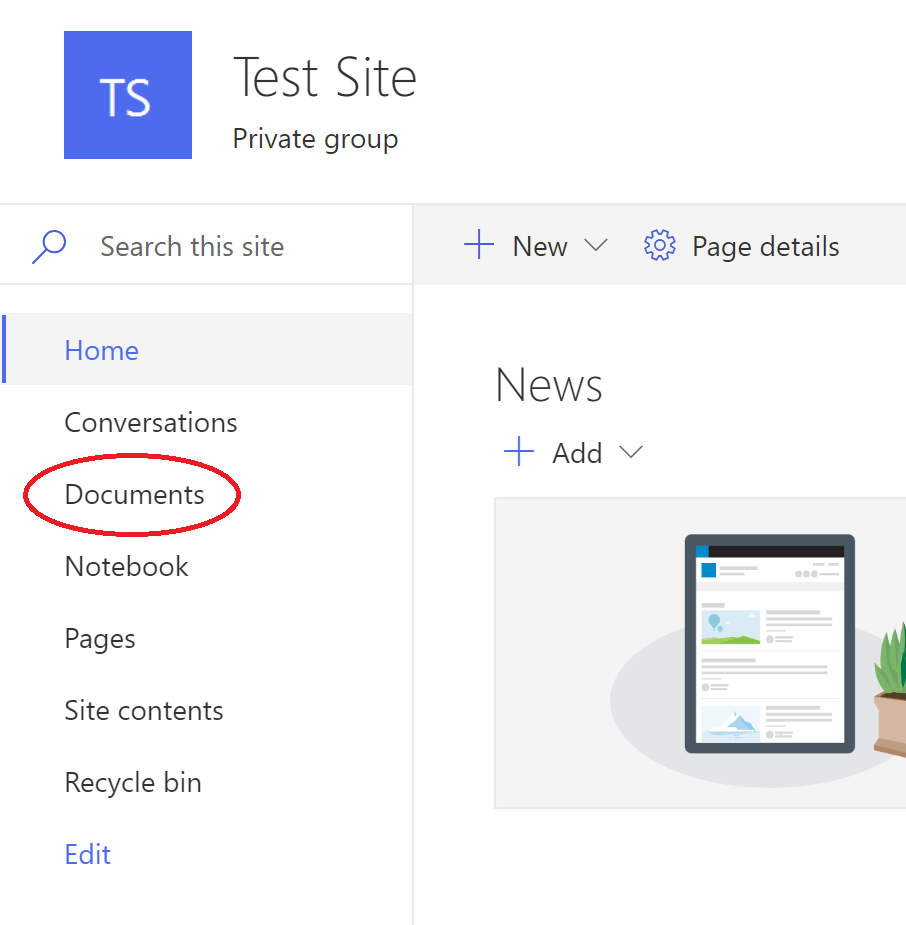
- Your new site should open (Or click on your new site)
- Click Documents (on the left)
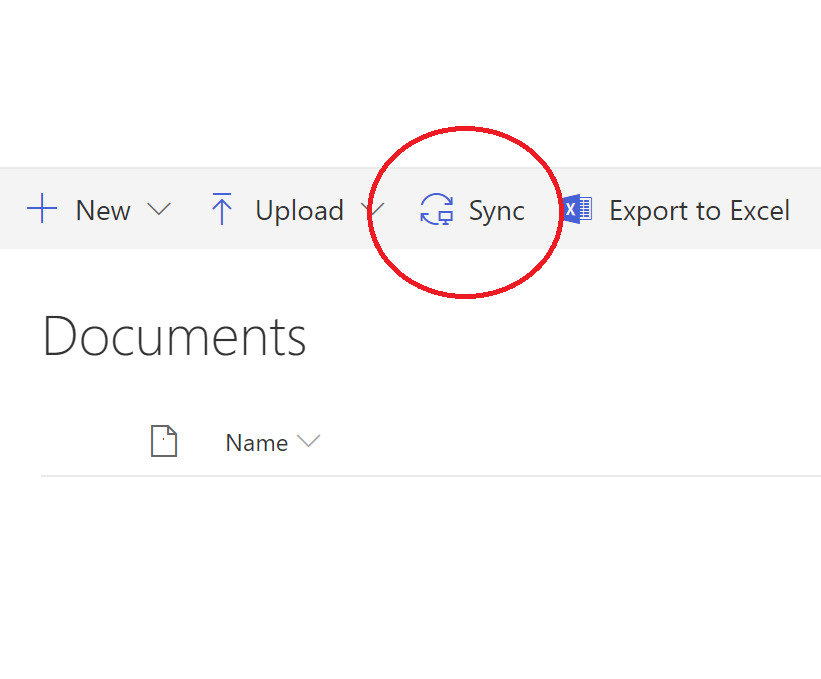
- Click Sync to sync with local PC


If you encounter issues when syncing with OneDrive then remove any existing accounts and set it up again from scratch selecting Work or School instead of Personal. Sign in with your Office 365 account.
Keen to know if there is a better solution out there.
Cheers,
Ant
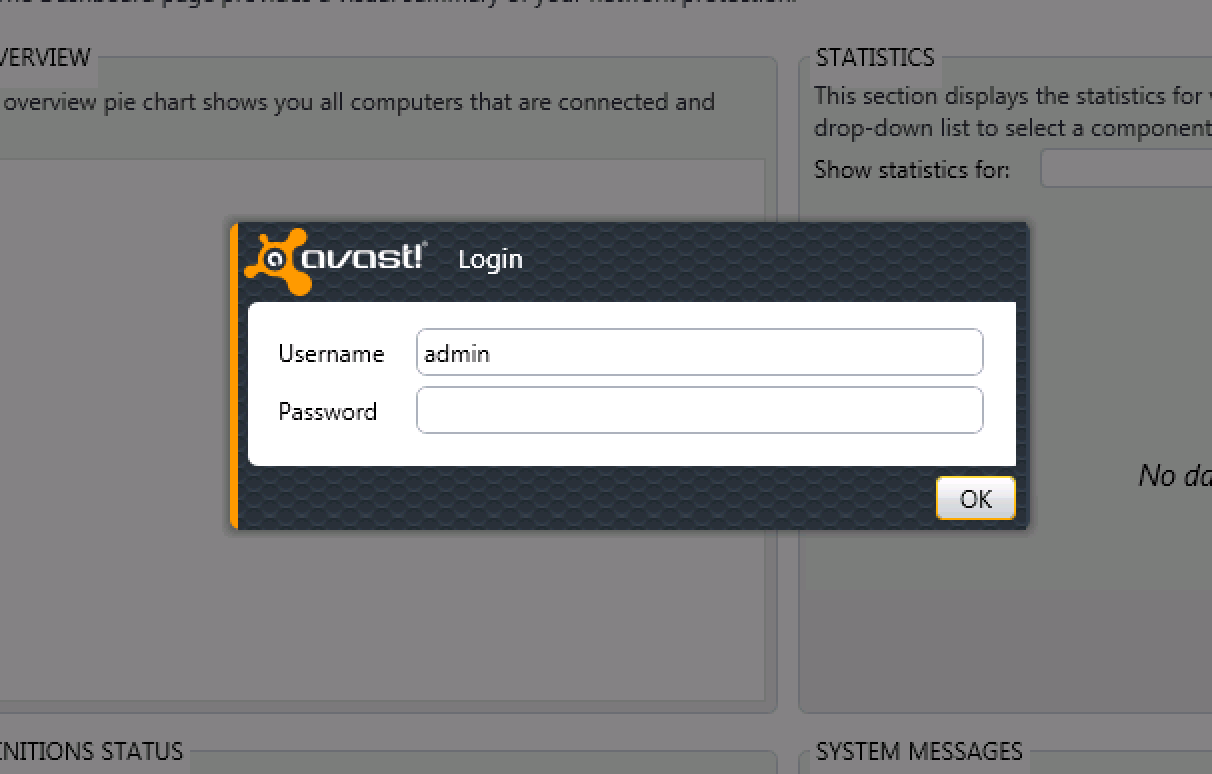
Avast Administration Console – Can’t Connect to Server
I recently came across an issue where the Avast Administration Web Console wouldn’t open. The error stated that it couldn’t connect to the server. Clicking the reload button made no difference.
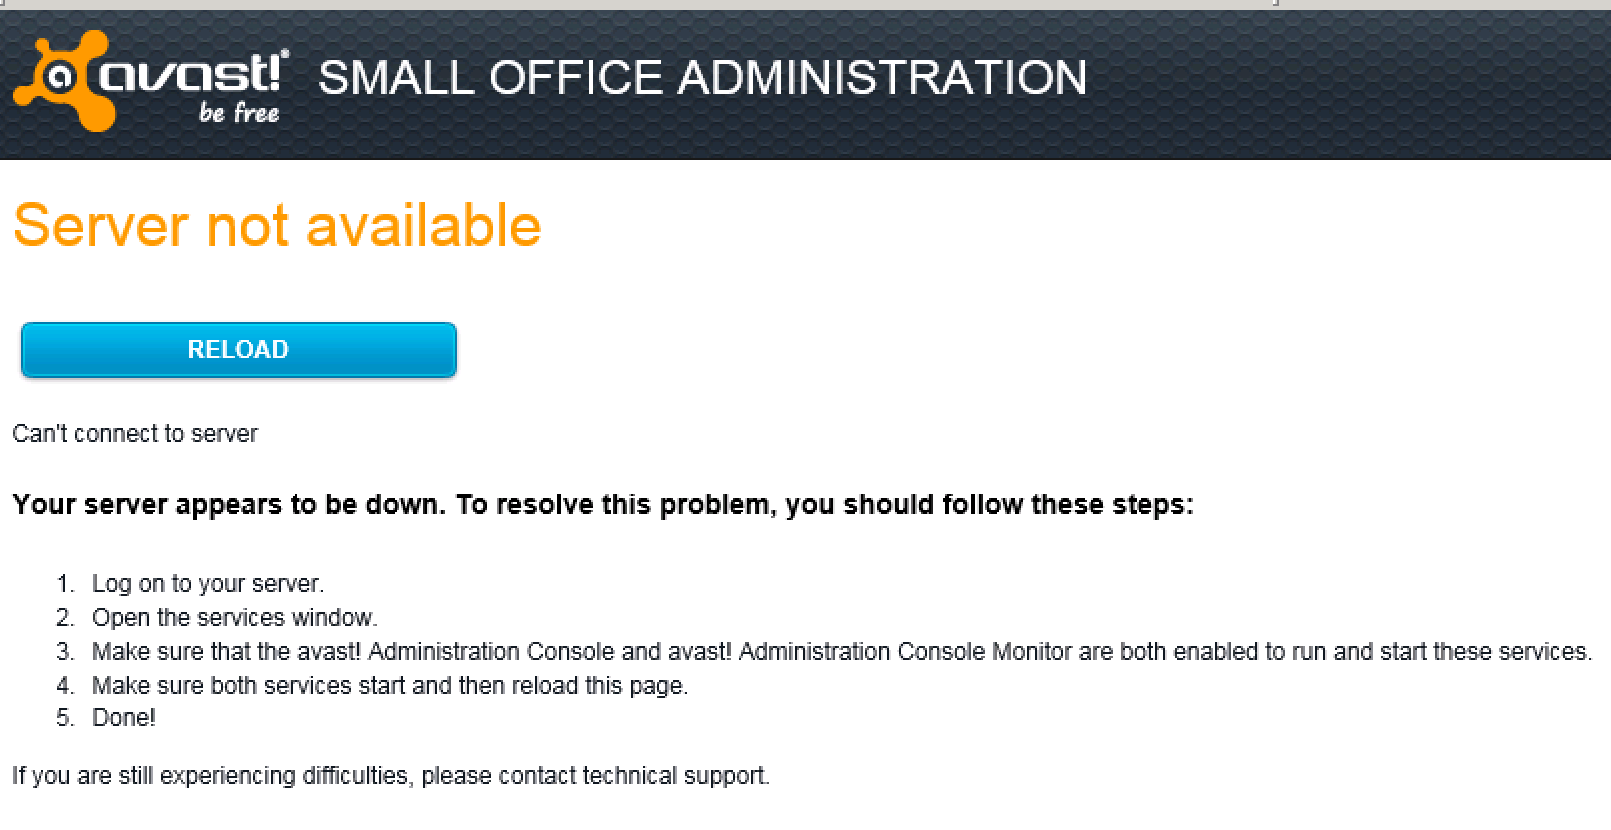
As you can see from the screenshot it said to check that the avast! Administration Console service was running so I did and surprise surprise it wasn’t.
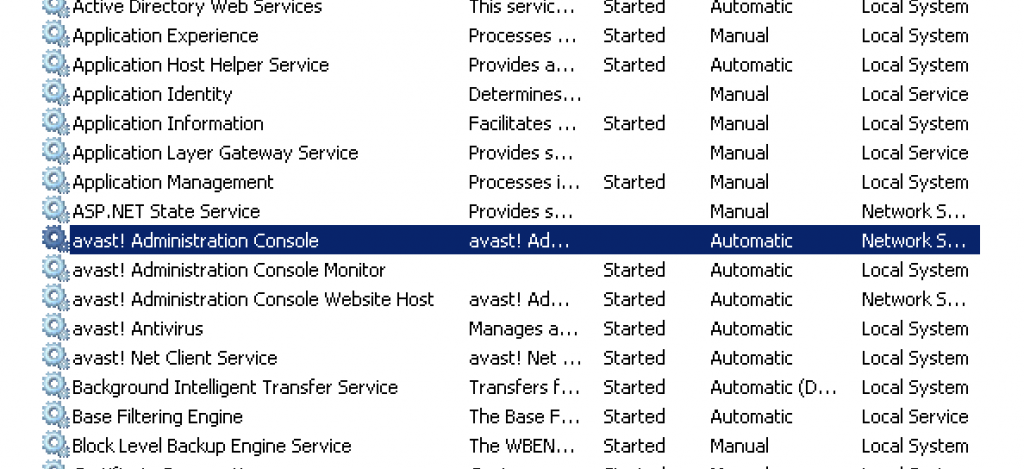
Starting the service was unsuccessful – it’s never that easy. I received an error stating that the service had started and stopped immediately and that some services are set to stop automatically if they’re not in use. At this point I thought it best to check the event logs.
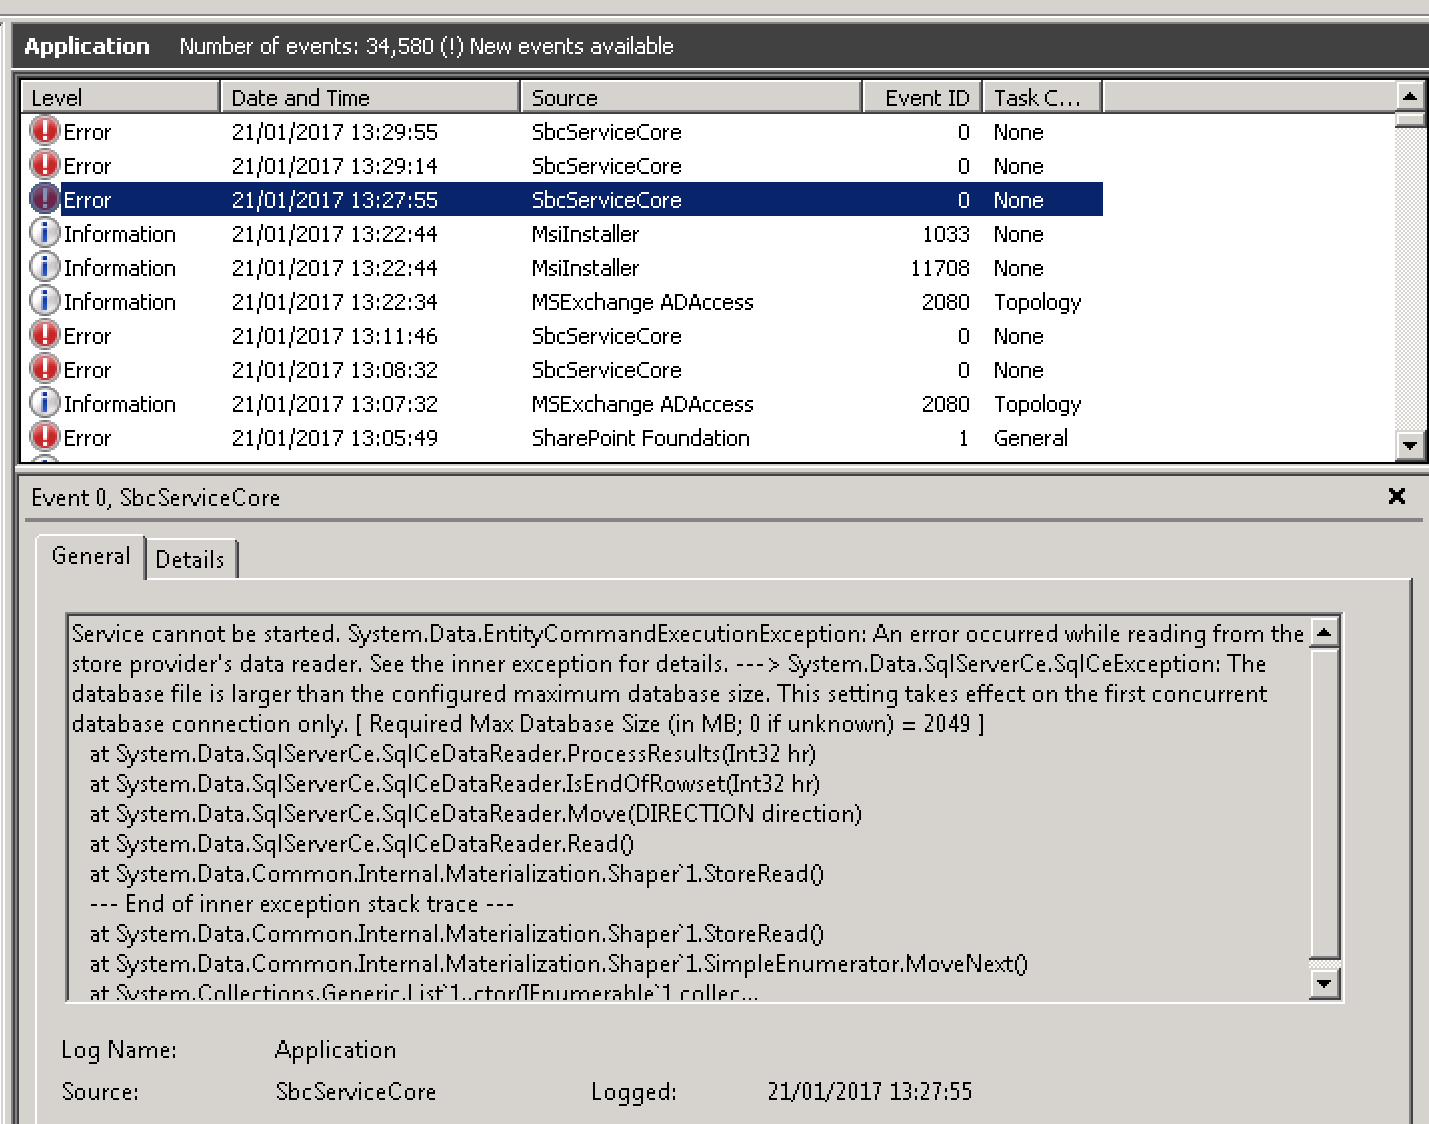
Service cannot be started. System.Data.EntityCommandExecutionException: An error occurred while reading from the store provider’s data reader. See the inner exception for details. —> System.Data.SqlServerCe.SqlCeException: The database file is larger than the configured maximum database size. This setting takes effect on the first concurrent database connection only. [ Required Max Database Size (in MB; 0 if unknown) = 2049 ]
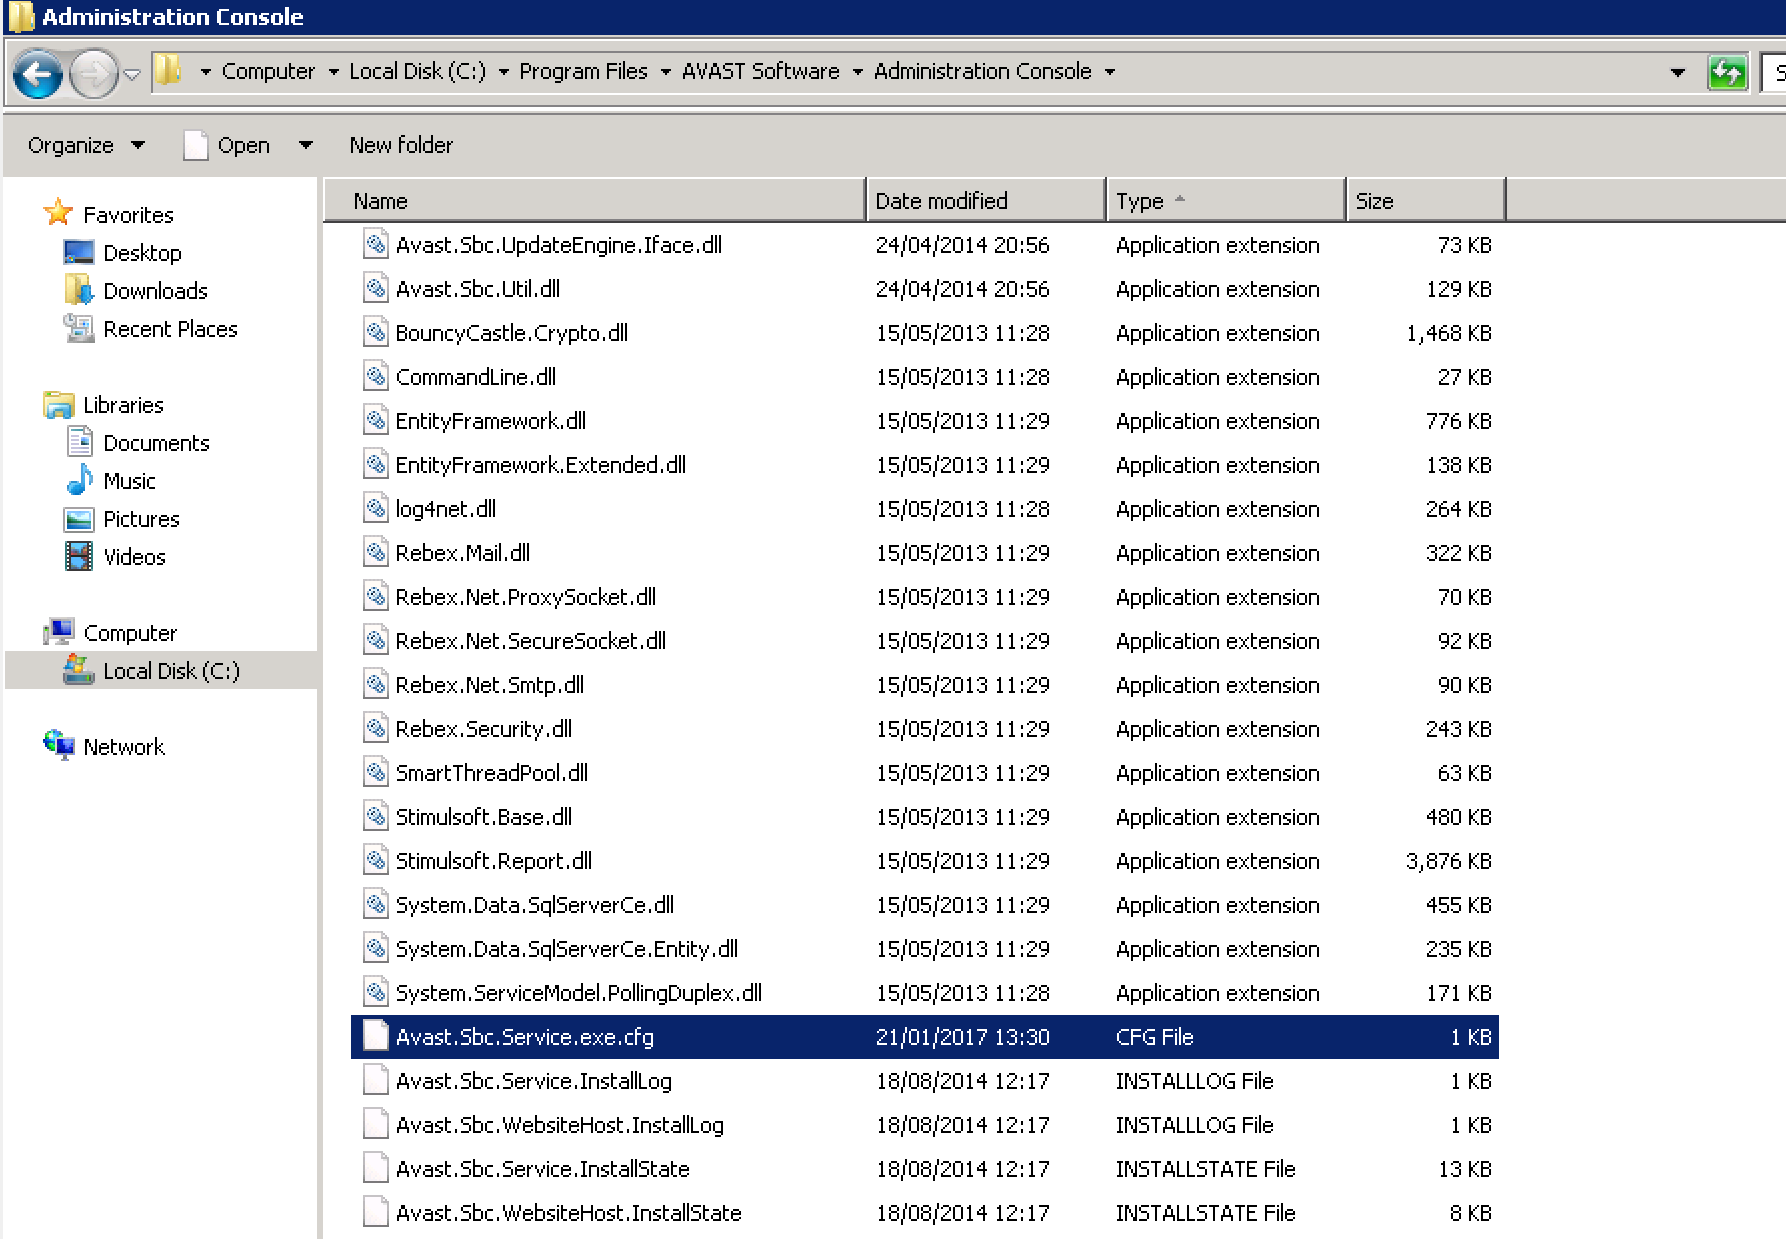
So we can see here that the service isn’t starting due to an issue connecting to the database. The highlighted text indicates what the problem was. I did some digging and found that the connection string sits within a file called Avast.Sbc.Service.cfg under the following directory.
I decided to modify the Max Database Size parameter to see if this would resolve the issue. I changed it to 4091 (I had tried slightly higher however it seems 4091 is the maximum).
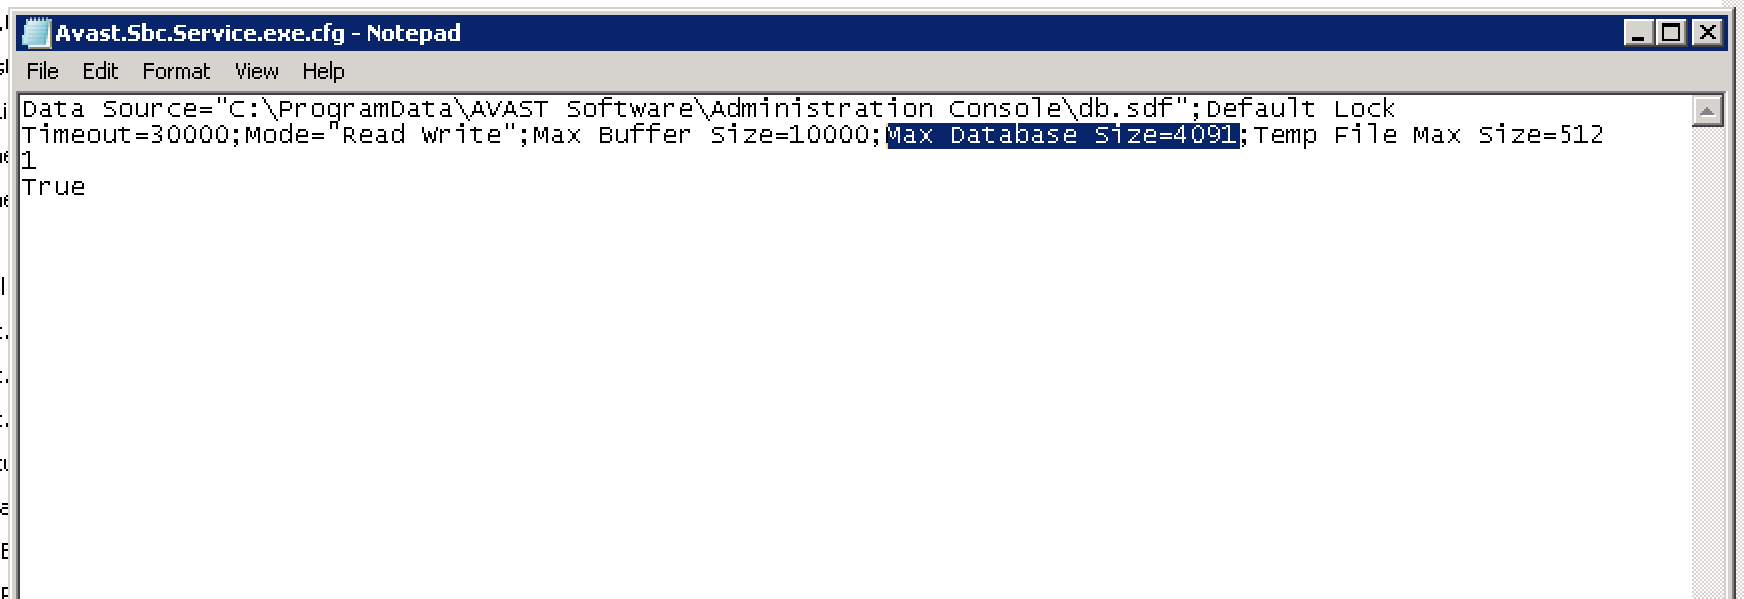
I saved the changes (you need to run notepad as administrator to modify this) and then I tried starting the service again.
Success! Hopefully someone finds this helpful. I’m not sure if this is a permanent fix however it’s up and running for now.